Setup the printer on MAC OSX
Last Updated: 17/03/2022
We recommend viewing the video “Printer setup on MAC“.
In addition, we provide detailed instructions immediately below.
Video
^
The printing and digitisation service is reserved for Iscte workers (teachers, researchers and technical staff).
Detailed instructions
The “Iscte-PS” printer can be installed on any MAC registered for use on Iscte by performing the instructions below:
- Access Ricoh Global support through a browser (e.g. Safari, Chrome, or Firefox).
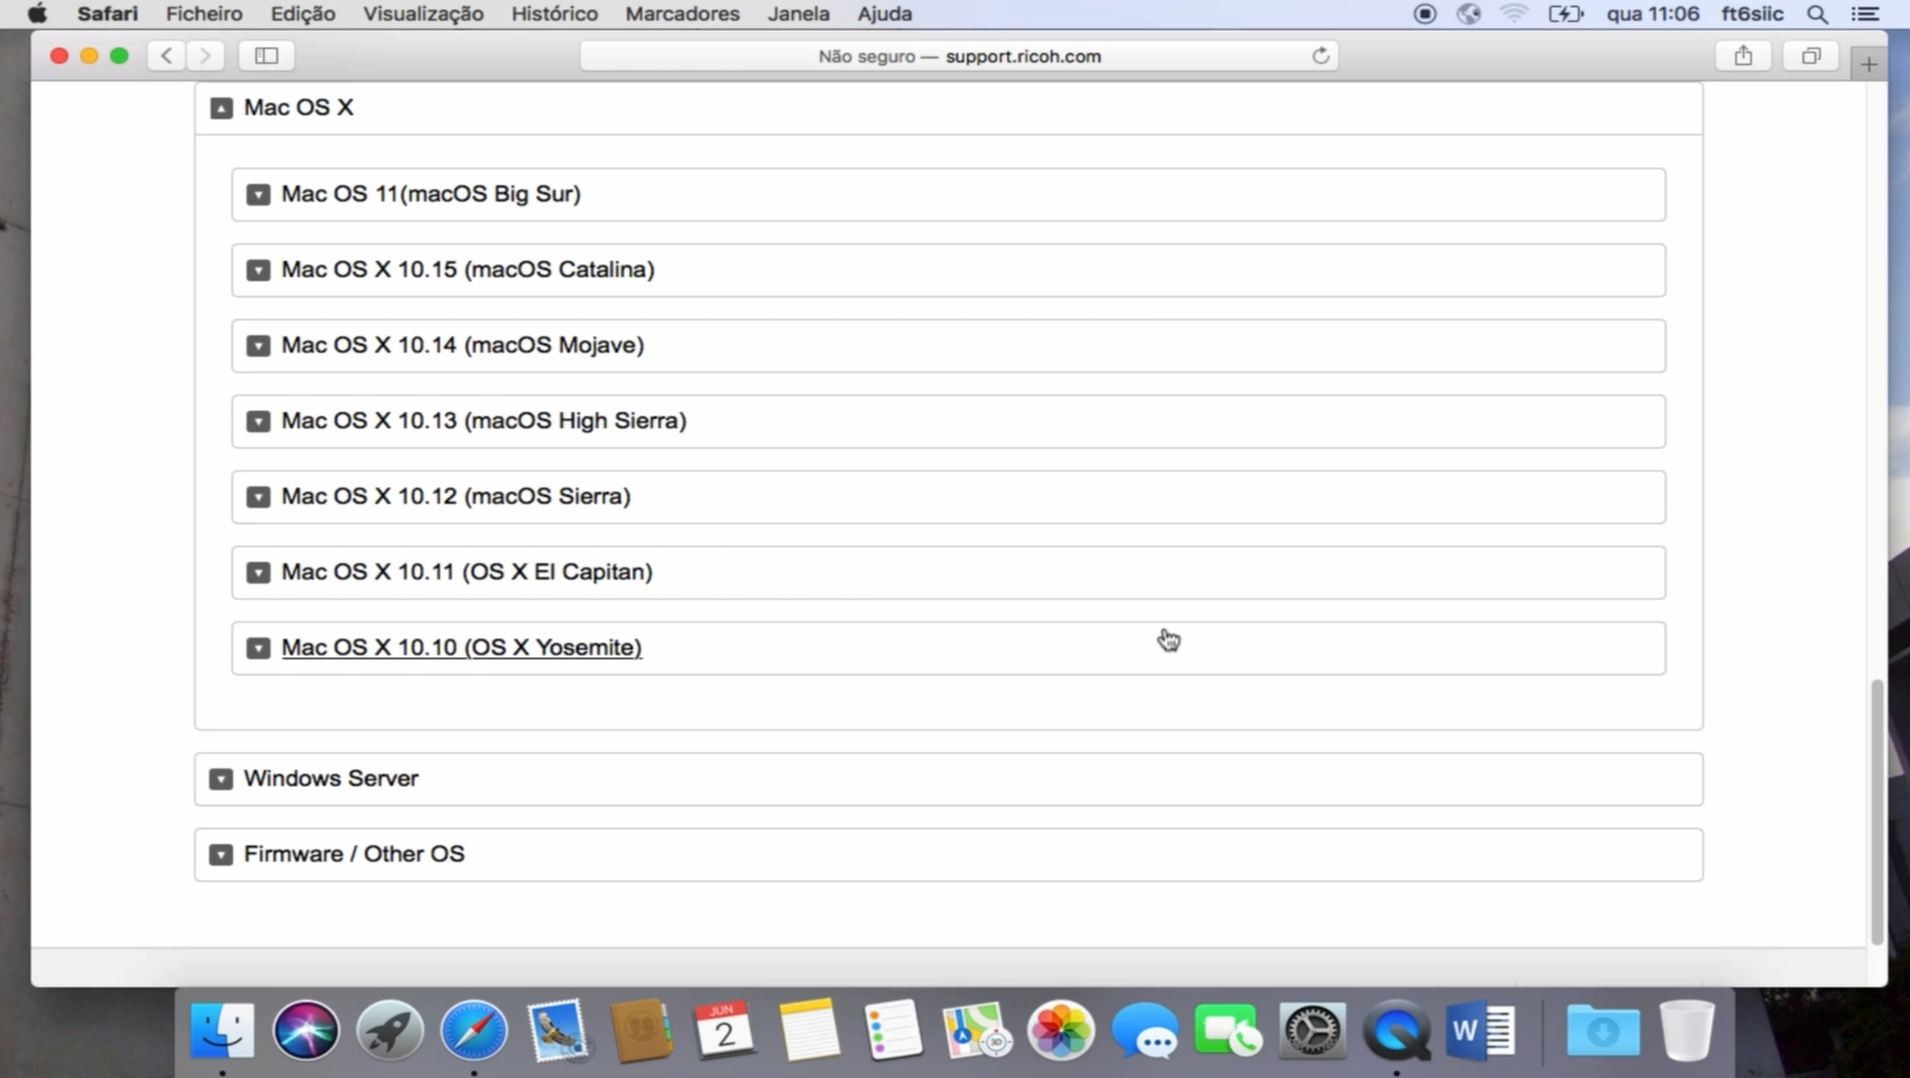
- Download the selected driver.
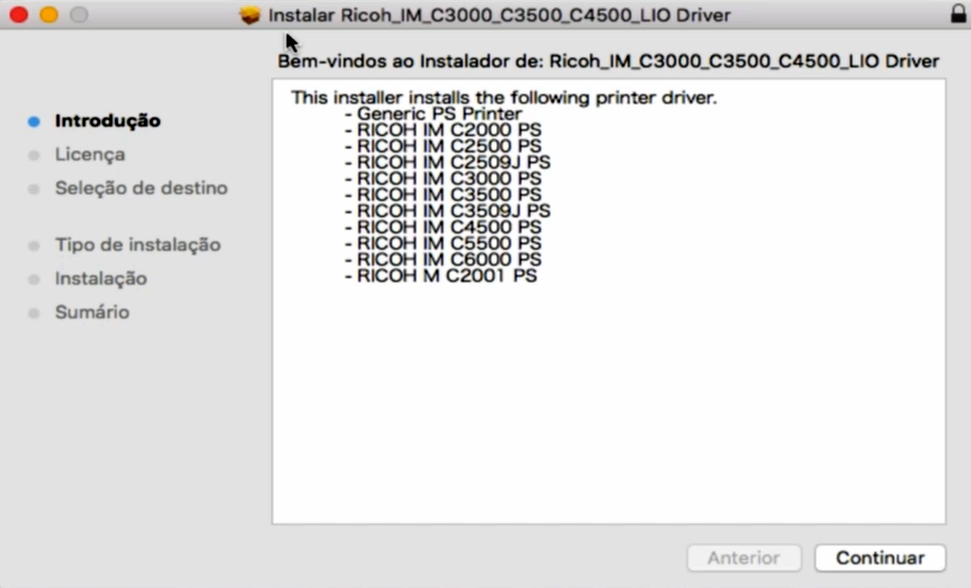
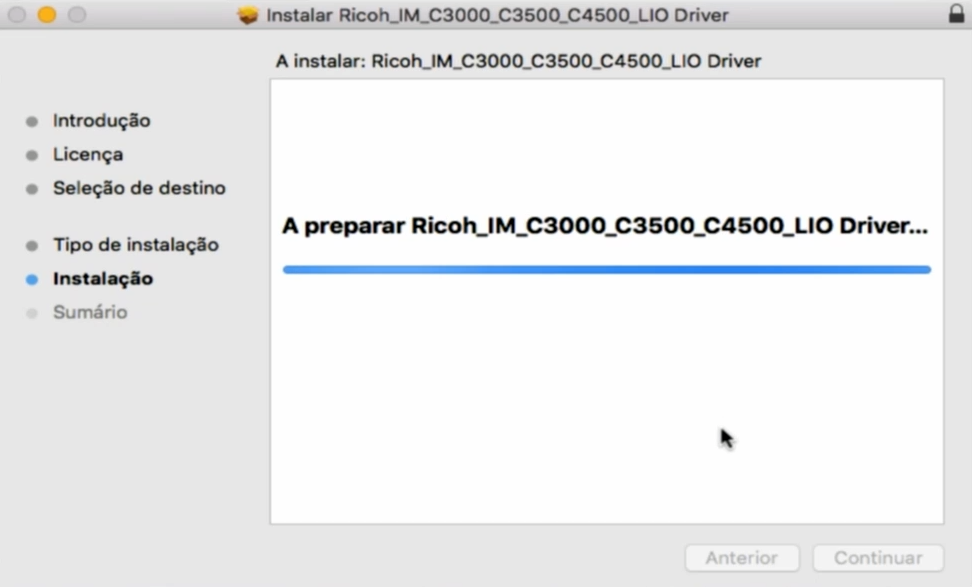
- Install from the downloaded driver by opening its DMG file.
- Authorize the installation of the driver using the credentials of the local MAC user, with administration privileges.
- Access “System Preferences“.
- Select “Print and Scan“.
- Press the “+” button to add a printer.
- Modify the toolbar by right-clicking and choosing “Customize toolbar… “.
- Select the “Advanced” icon and drag to the “toolbar“. Finish by pressing “OK“.
- Set up the printer “Iscte-PS” by filling in the fields as illustrated below.
Type: Choose the option “Windows printer via spoolss“
Device: Choose the option “Other device”
URL: Write “smb://printers.iul.intra/Iscte-PS“
Name: Write “Iscte-PS“
Use: Choose “”RICOH IM C3000 PS“. - Click “Add“.
- Select the “Two-sided print unit” option and press “OK“.
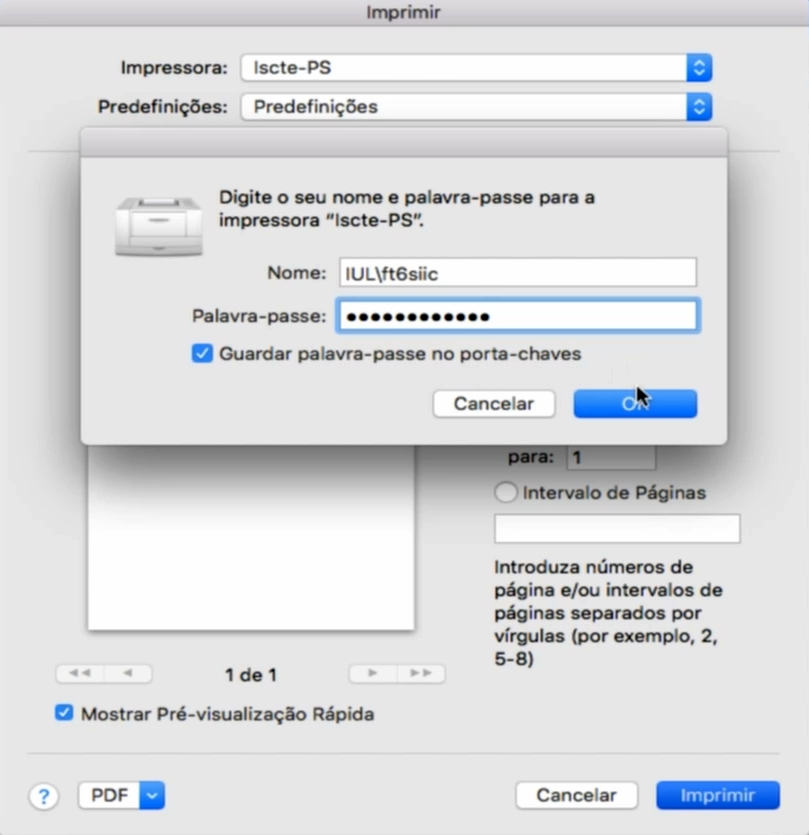
On first use of the print service, you will be prompted for access credentials to the print server. - Authenticate by entering the Iscte credentials (username and password) in the form illustrated in the figure below.
Username: Type “IULusername” (e.g. IULxxnes)
Password: Type your Iscte account password
[expand title=”Click here to see images”]
- Access Ricoh Global support through a browser (e.g. Safari, Chrome, or Firefox).
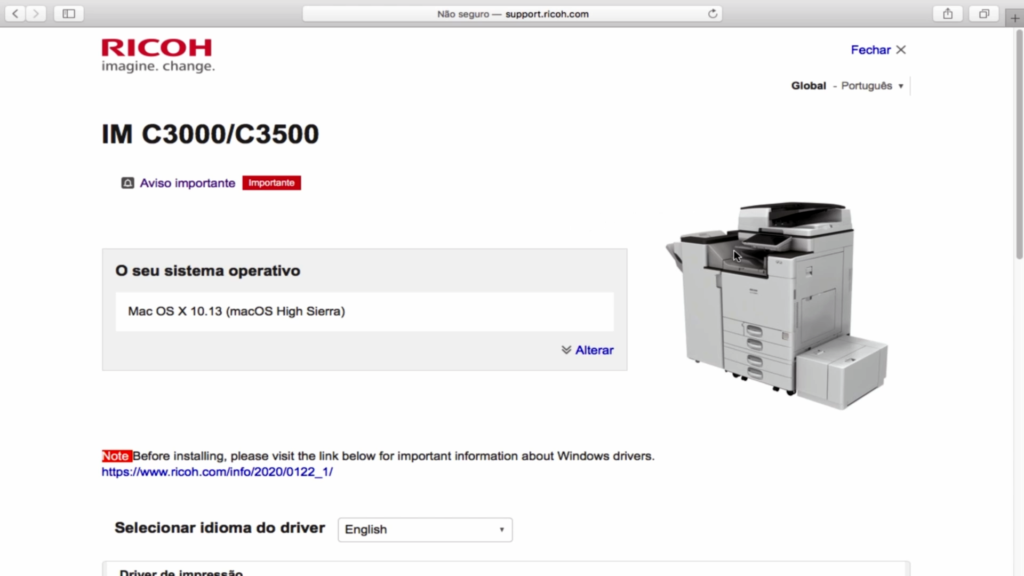
Note: The site automatically recognizes the operating system version of your device. Otherwise, select “Change” and choose the appropriate version. - Download the selected driver.
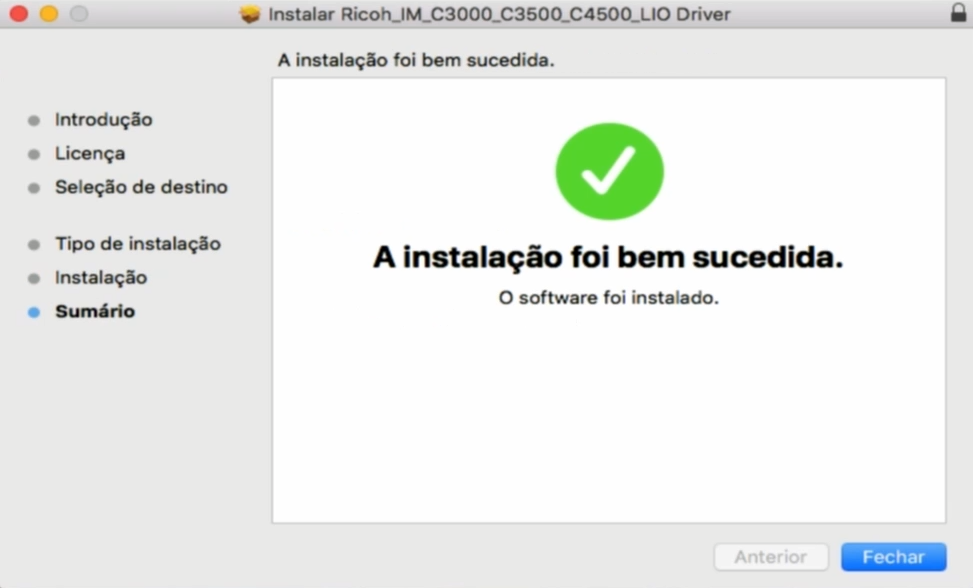
- Install from the downloaded driver by opening its DMG file.
- Authorize the installation of the driver using the credentials of the local MAC user, with administration privileges.

- Access “System Preferences“.
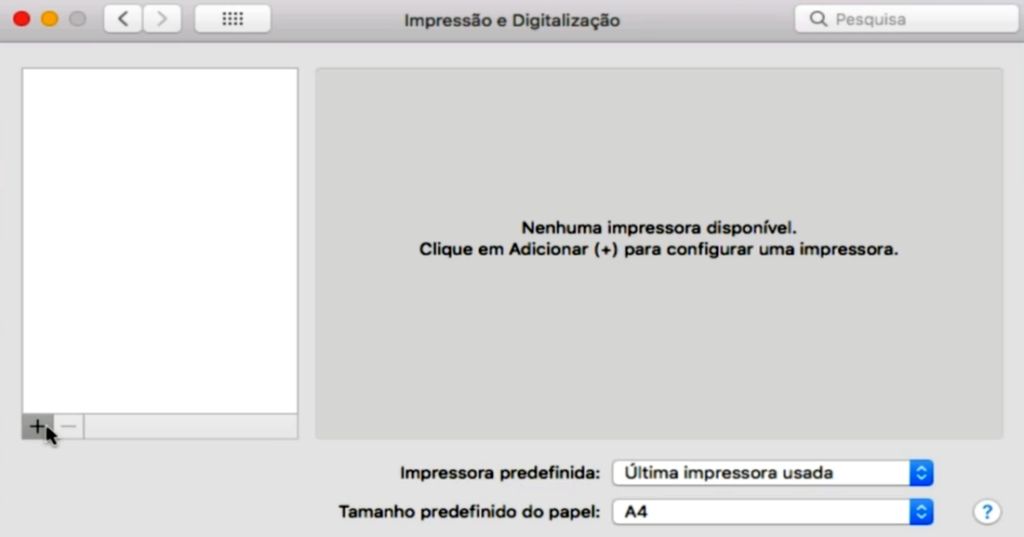
- Select “Print and Scan“.

- Press the “+” button to add a printer.
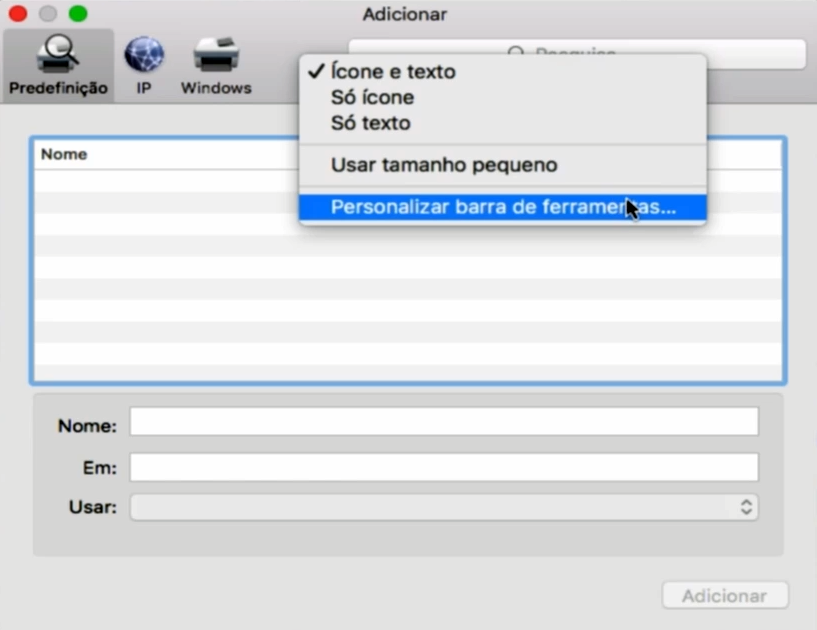
- Modify the toolbar by right-clicking and choosing “Customize toolbar… “.
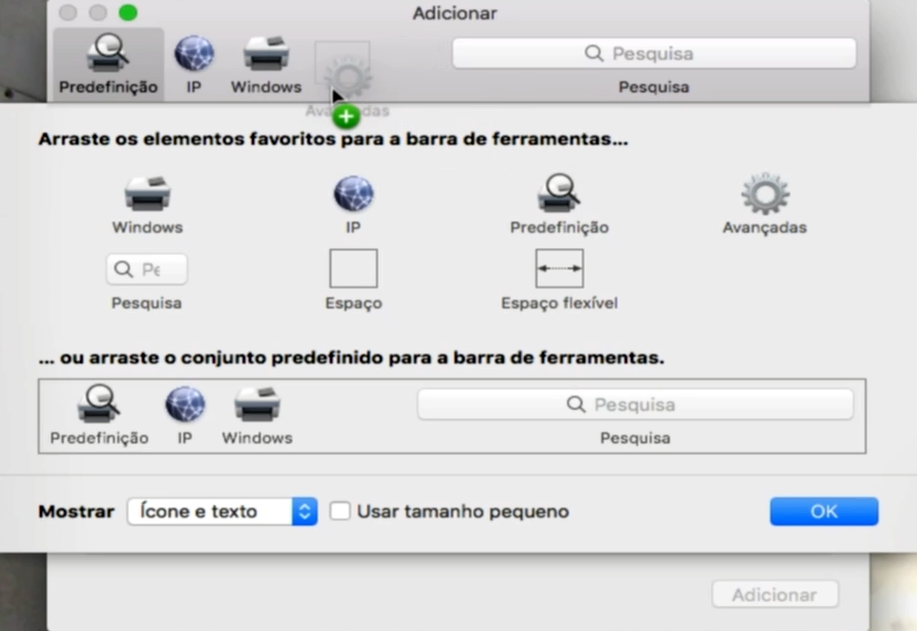
- Select the “Advanced” icon and drag to the “toolbar“. Finish by pressing “OK“.
- Set up the printer “Iscte-PS” by filling in the fields as illustrated below.

Type: Choose the option “Windows printer via spoolss“
Device: Choose the option “Other device”
URL: Write “smb://printers.iul.intra/Iscte-PS“
Name: Write “Iscte-PS“
Use: Choose “”RICOH IM C3000 PS“. - Click “Add“.

- Select the “Two-sided print unit” option and press “OK“.

On first use of the print service, you will be prompted for access credentials to the print server. - Authenticate by entering the Iscte credentials (username and password) in the form illustrated in the figure below.
Username: IULusername (e.g. IULxxnes)
Password: (the password of the iscte account)
[/expand]
See here how to register a personal computer to use on Iscte