Multipurpose rooms
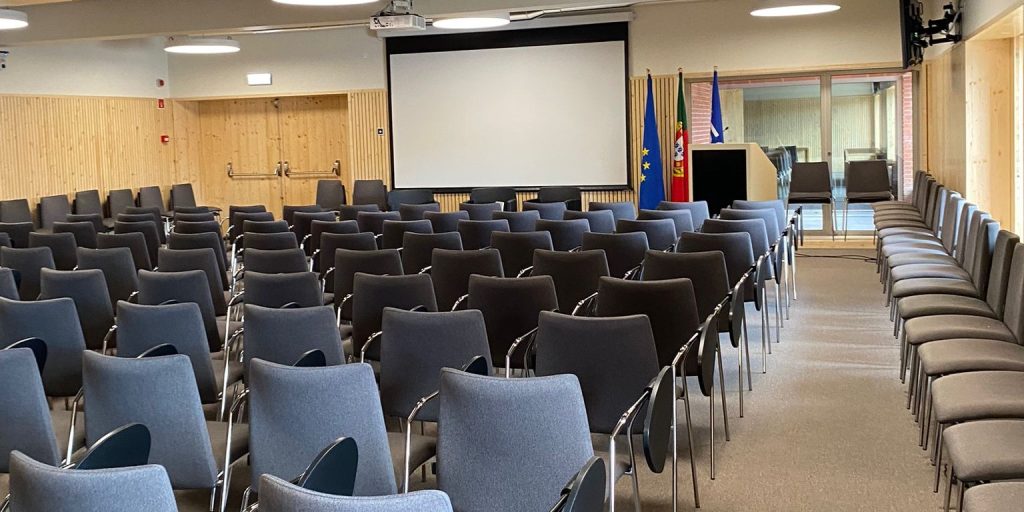
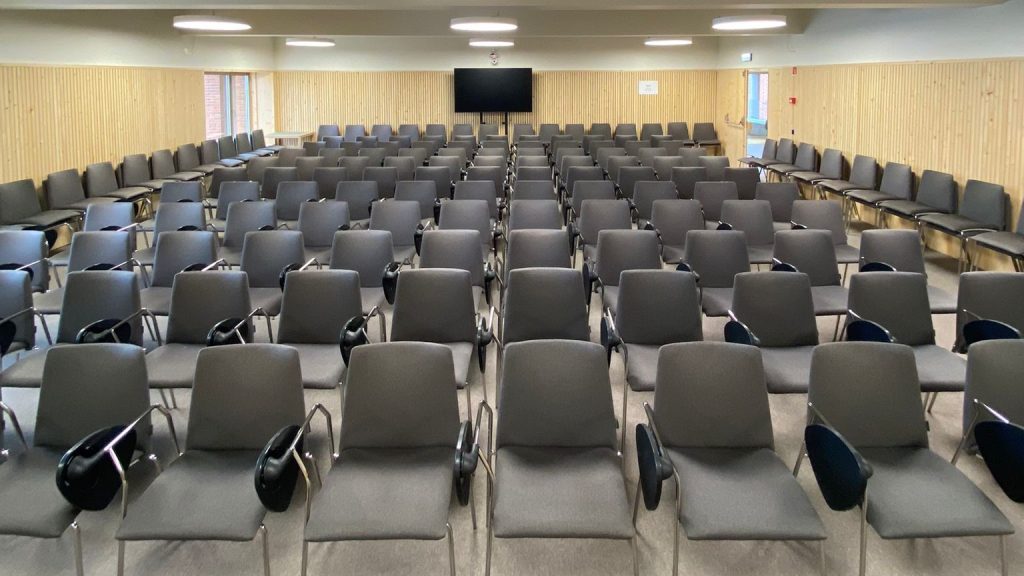
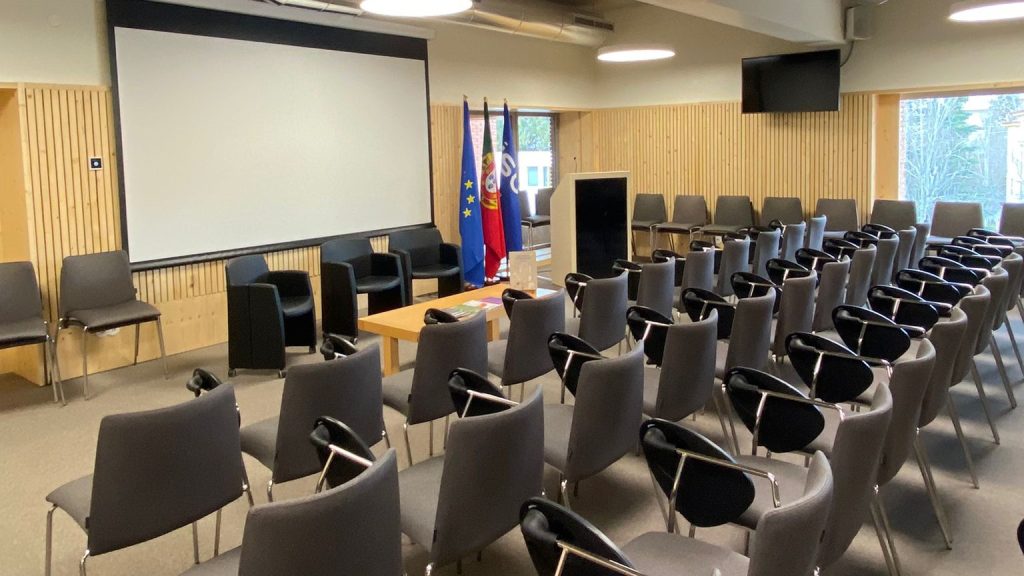
OPERATING INSTRUCTIONS
- Turn on the videoprojetor.
- Turn on the displays (2 NEC large displays and digital pulpit display).
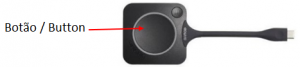
- Connect Barco’s ClickShare dongle to the computer’s USB-C port.
TIP: If your computer only has USB ports, you will need to use a USB (computer) to USB-C (ClickShare) adapter. - ClickShare will appear as a USB drive on your computer. Select this drive and run the “OneClick” software.
- Click on the button to share the screen. Click again to stop sharing the screen.
- View next section for help on audio and video settings.
- There are two ClickSahare buttons per multipurpose room.
- There are no HDMI/VGA cables in the multipurpose rooms.
- Barco ClickShare uses a USB-C connection to share content with your computer. If you have a USB-only device, you will need a USB-C to USB adapter.
- Barco does not have an application for Linux.
- Mac O/S 10.15.x (Catalina) users: The recent Catalina OSx update disabled screen sharing on Apple devices by default. One of the effects is the interruption of the use of Clickshare. Follow the steps below to reactivate screen sharing on your device:
- Connect the dongle to the Mac device;
- Click on the “Clickshare” application when it appears on the desktop;
- Select “System Preferences => Security & Privacy => Privacy” and scroll down to Screen Recording;
- Check the box that says “Clickshare“;
- Disconnect the dongle from the device;
- Reconnect the dongle to the device;
- Click on the “Clickshare” application when it appears on the desktop;
- Click on the Clickshare button on the dongle.
Microsoft Windows
- Select the speaker icon in the bottom right-hand corner of the taskbar.
- Select the output device and choose “ClickShare/USB“.
- Select the input device (microphone) and choose “ClickShare/USB“.
Apple Mac OS X:
- Go to “System Preferences” and then “Sound“.
- Select “Output” and choose “ClickShare/USB“.
- Select “Input” and choose “ClickShare/USB“.
- Join a Zoom meeting.
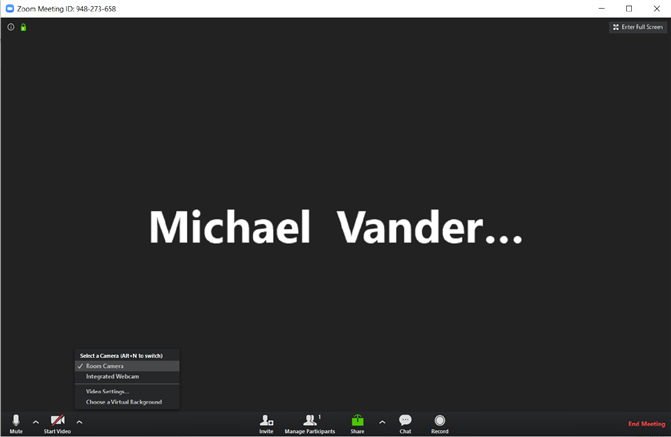
- Press the up arrow next to the video camera icon in the bottom left corner of the conference window to select a camera. Then select “Room Camera“.
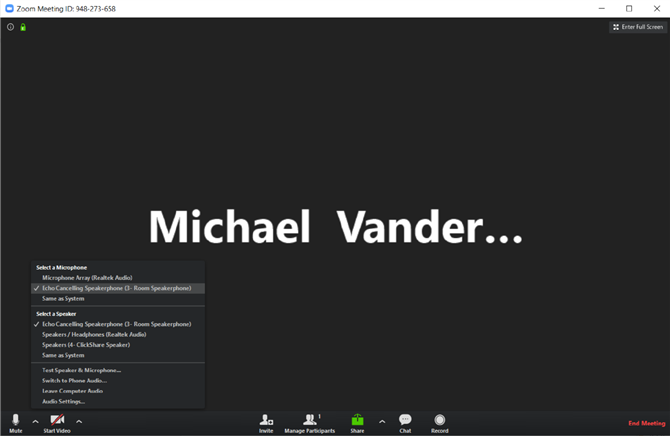
- Press the up arrow next to the microphone icon in the bottom left corner of the conference window to select a microphone and speaker. In both cases, select “Echo Cancelling Speakerphone (Room Speakerphone)“.
Sharing the meeting room screen remotely using Zoom
You can share the local view of the meeting room screen using Zoom to allow remote participants to join the discussions. This feature also allows guests to share with the local meeting room while an employee shares the entire content of the meeting room screen with remote participants. To use this feature, follow these steps:
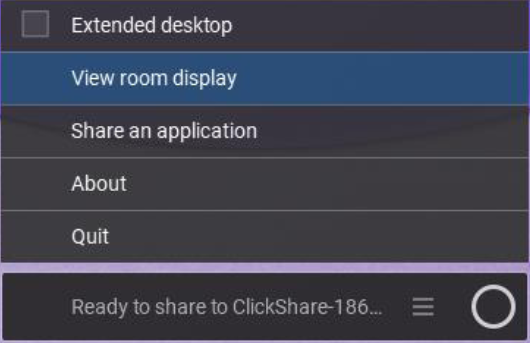
- Open the local view of the room screen by pressing the menu icon in the ClickShare app and select “view room display“.

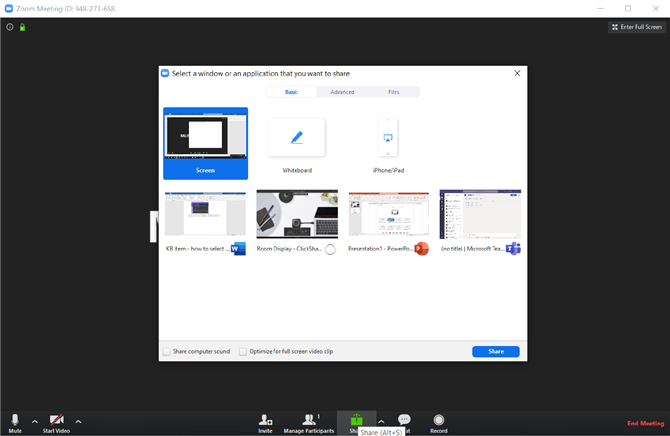
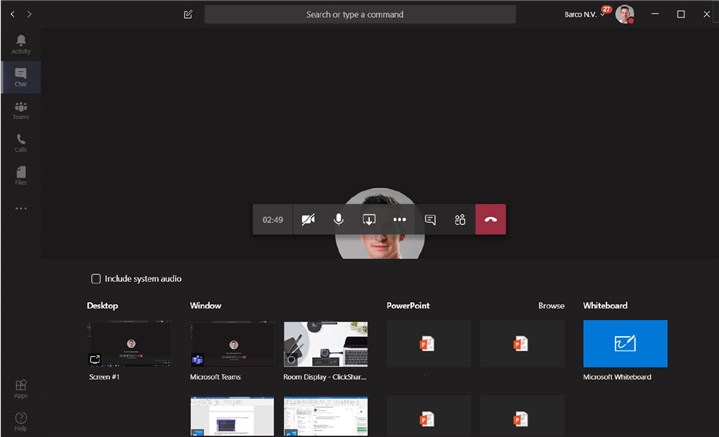
- Open your Zoom conference and press the “Share” button (square with an upward arrow). Then select “Room Display – ClicShare” from the list of windows you can share. Finally, press “Share” in the bottom right-hand corner of the selection window to start sharing the local meeting room screen with remote conference users.
- Join a Microsoft Teams meeting.
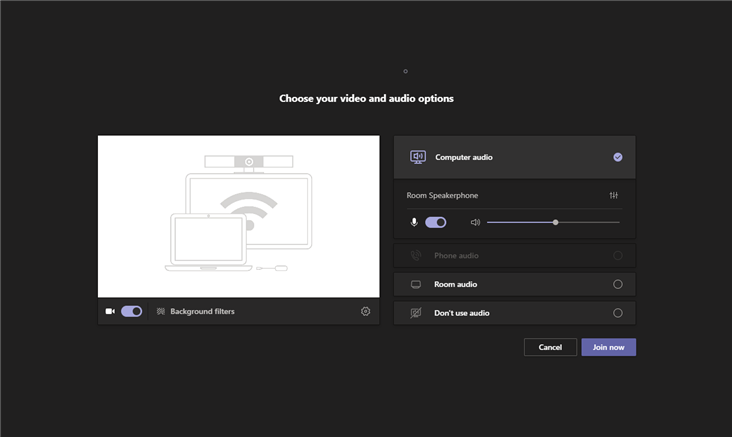
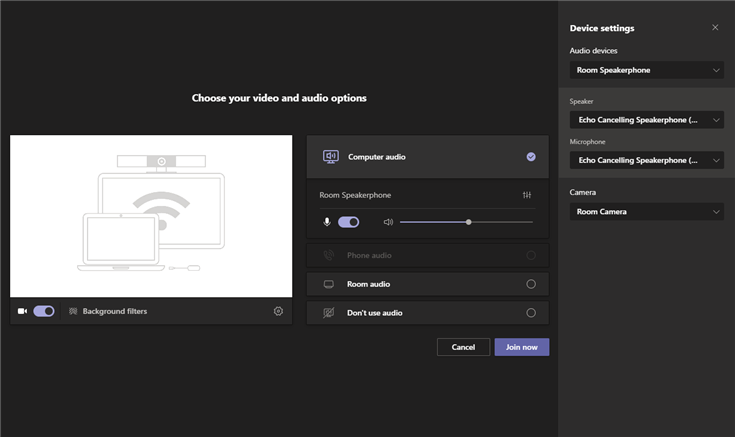
- Select the “Computer audio” option. This step is necessary to be able to use the “ClickShare Room” speakerphone.
Tip! To check or change your device settings before joining a Microsoft Teams call: click on the gear icon next to the camera option or on the vertical slider icon below Computer audio in the Microsoft Teams window.
- To change the device settings after joining the Microsoft Teams call: Explore the “More options” menu using the button with 3 horizontal dots (…) and then select “Device settings” to open the peripheral selection panel.
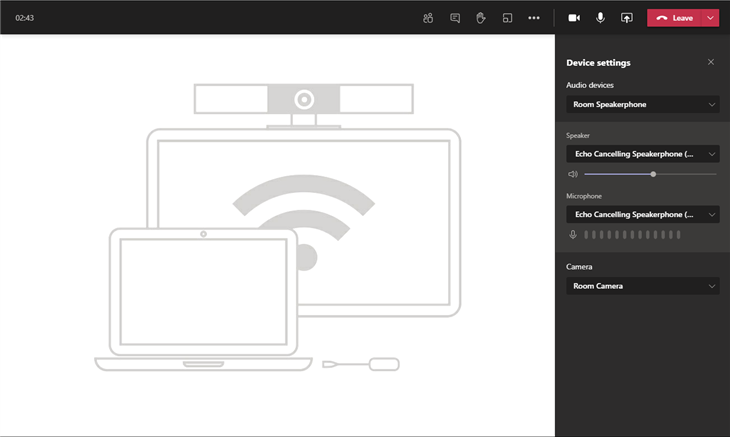
- In the peripheral selection panel (or Device settings), make sure that the following devices are selected to enjoy the benefits of ClickShare Conference:
- Audio devices: Select the “Room Speakerphone“.
Speaker: Select “Speakerphone with echo cancellation (room speakerphone )“
Microphone: Select “Speaker with echo cancellation (room speaker)“
Camera: Select “Room camera“
- Audio devices: Select the “Room Speakerphone“.
Sharing the meeting room screen remotely using Microsoft Teams
You can share the local view of the meeting room screen using Microsoft Teams to allow remote participants to join discussions. This feature also allows guests to share with the local meeting room while an employee shares the entire content of the meeting room screen with remote participants. To use this feature, follow these steps:
- Open the local view of the room display by pressing the menu icon in the ClickShare app and select “view room display“.
- Open your Microsoft Teams conference and press the “share content” button (square with upward arrow). Finally, select the “Room display” from the list of windows you can share.
- Junte-se a uma reunião Webex.
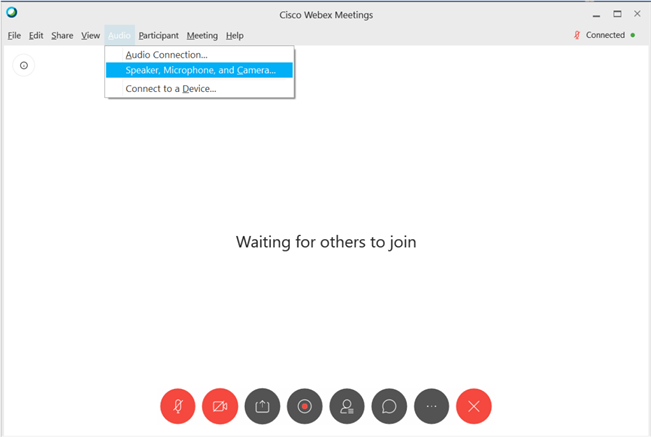
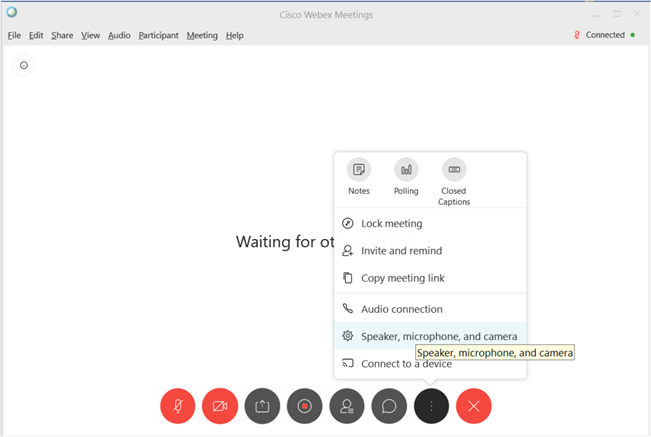
- Explore o menu “Mais opções” utilizando o botão com 3 pontos e, em seguida, seleccione “Speaker, Microphone and Camera (Altifalante, microfone e câmara)” para abrir a janela de seleção de periféricos. Em alternativa, também pode clicar no menu “Áudio” na barra de menus da aplicação e selecionar “Speaker, microphone and camera…”.
- Nas definições de “Speaker, Microphone and Camera (Altifalante, Microfone e Câmara)”, certifique-se de que os seguintes dispositivos estão seleccionados para desfrutar das vantagens do ClickShare Conference:
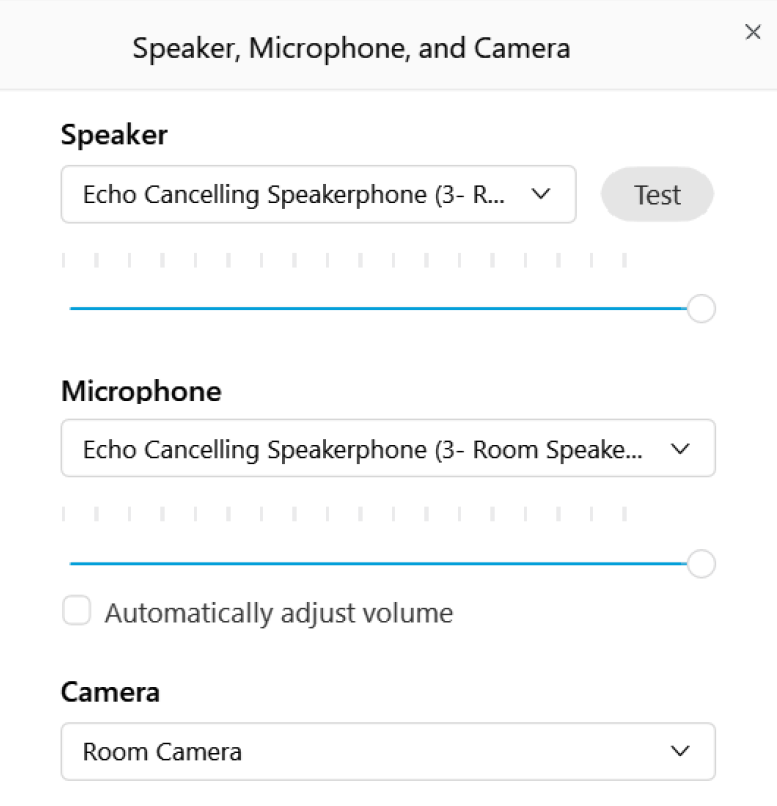
- Speaker (Altifalante): Select the “Echo Cancelling Speakerphone – Room Speakerphone”.
- Camera (Câmara): Select the “Room Camera”.
- Microphone (Microfone): Select the “Echo Cancelling Speakerphone – Room Speakerphone”.
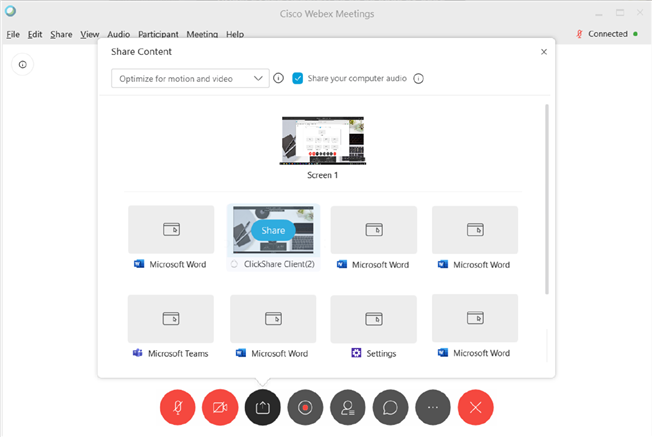
Partilhar o ecrã da sala de reuniões remotamente utilizando o Webex
Pode partilhar a vista local do ecrã da sala de reuniões utilizando o Webex para permitir que os participantes remotos se juntem aos debates. Esta funcionalidade também permite que os convidados partilhem a sala de reuniões local enquanto um funcionário partilha todo o conteúdo do ecrã da sala de reuniões com os participantes remotos. Para utilizar esta funcionalidade, siga estes passos:
- Abra a visualização local do ecrã da sala premindo o ícone de menu na aplicação ClickShare e seleccione “view room display”.

Abra sua conferência Webex, pressione o botão para “compartilhar conteúdo” (quadrado com seta para cima) e selecione a janela chamada “ClickShare Client” ou “Room Display” para compartilhar com participantes remotos.
Dica! Certifique-se de que selecciona “Otimizar para movimento e vídeo” quando partilhar conteúdos de vídeo.
Pode transferir e instalar a aplicação de ambiente de trabalho ClickShare no seu computador. Para obter mais informações sobre o aplicativo de desktop, clique aqui.
Please contact the Research Support Office (gai@iscte-iul.pt).