Multifactor Authentication (MFA)
-
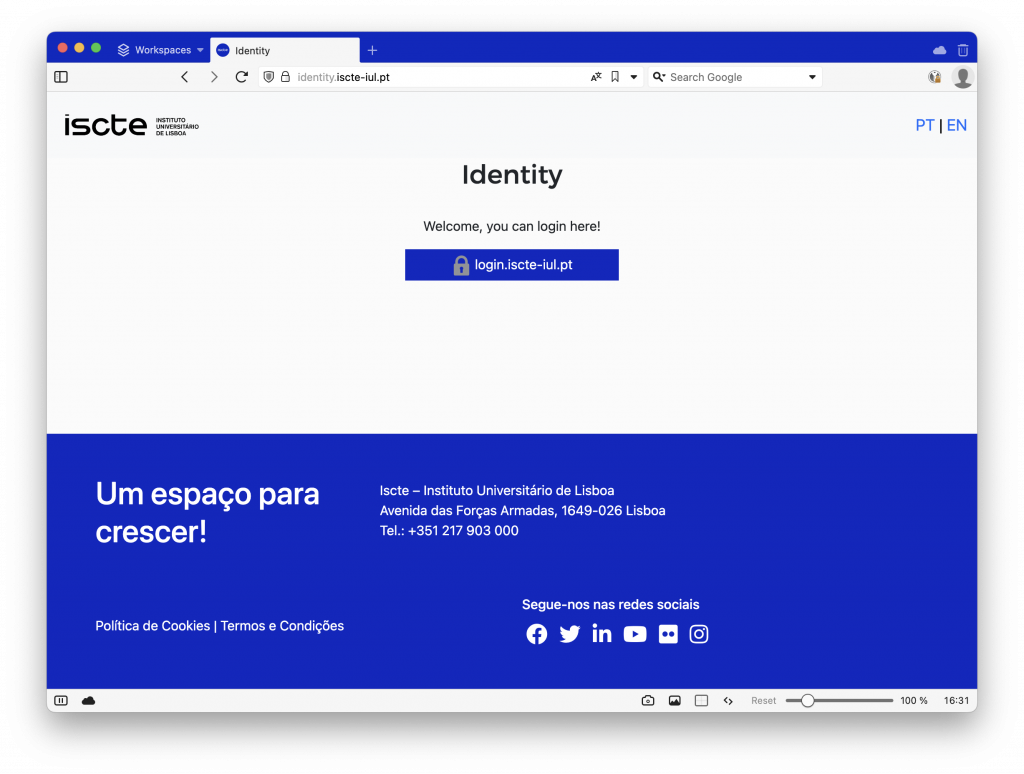
- Go to https://identity.iscte-iul.pt/
- Click on “Active MFA”.
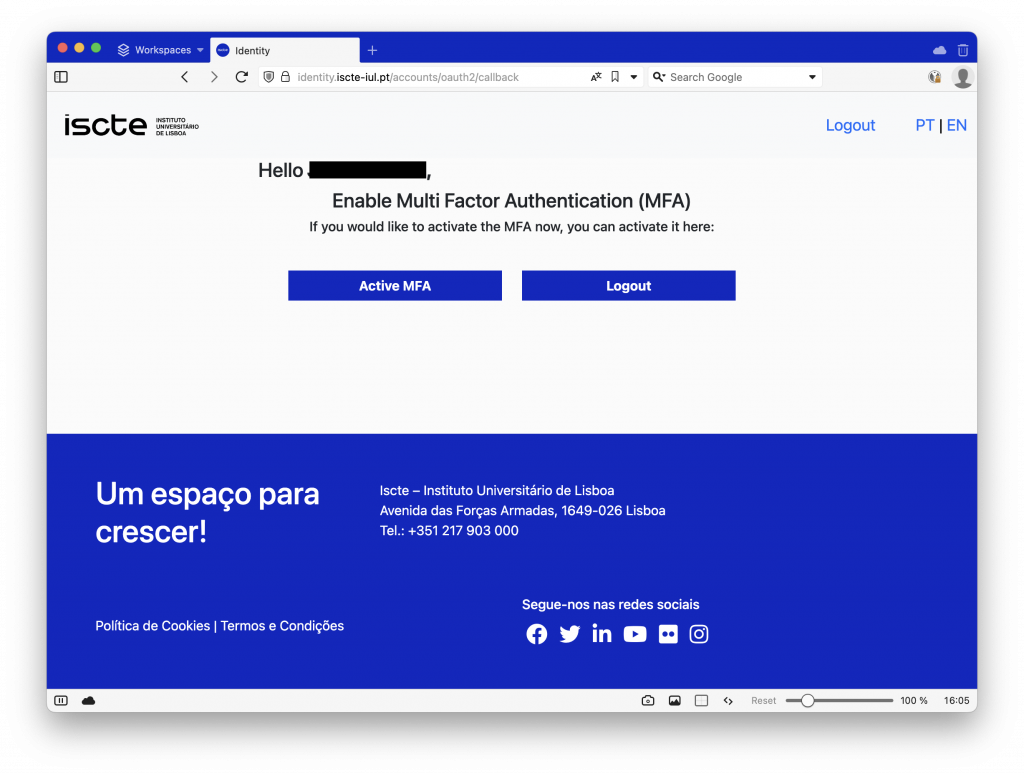
- Log in to the OKTA website with your ISCTE username and password.
- Add your mobile number and then click on “Confirm”.
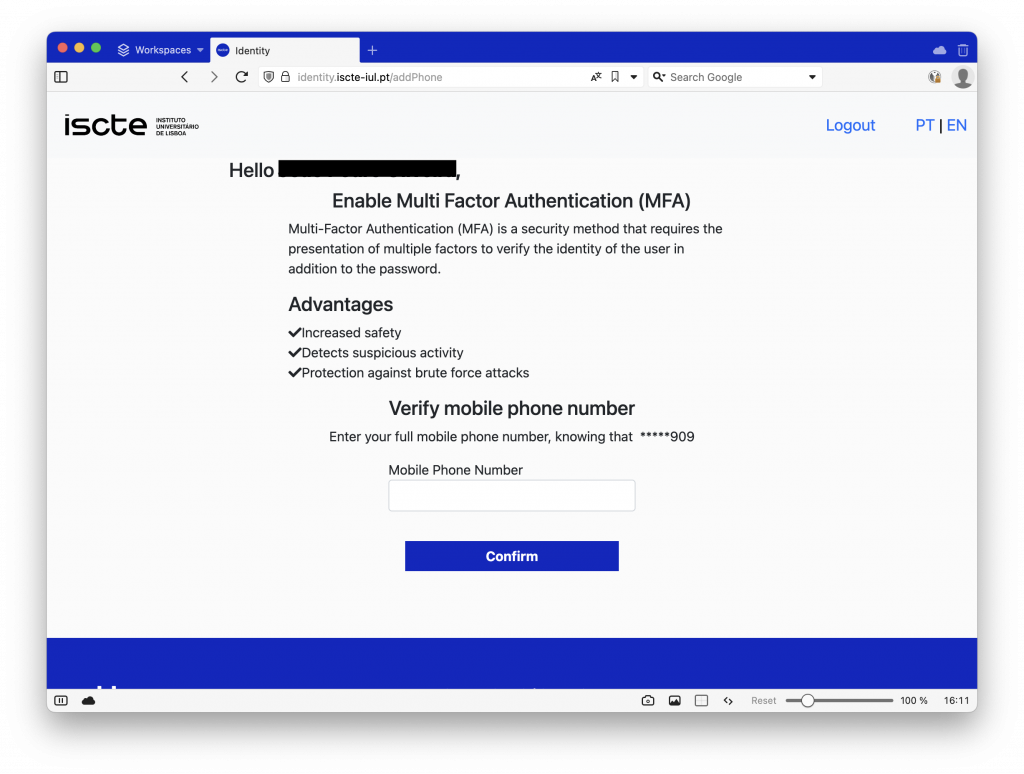
- A verification code will be sent by SMS and which you must confirm in the website.

- After verifying the code received by SMS, you will be redirected to the website: https://login.iscte-iul.pt.
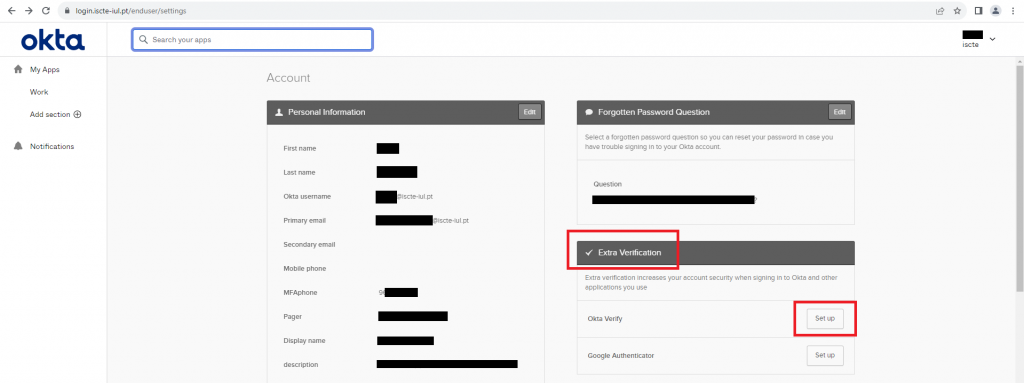
- In the top right corner, click on the downward pointing arrow and then on “Settings”.

- Go to https://identity.iscte-iul.pt/
-
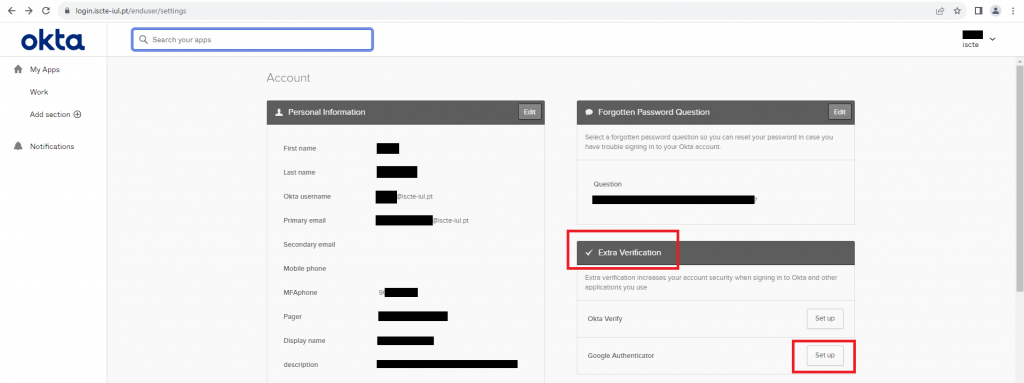
- If you prefer to use the OKTA Verify app, in the “Extra Verification” field, click on “Set up” placed in front of “Okta Verify”.
(Click here to check the compatibility of the Android and iOS versions).
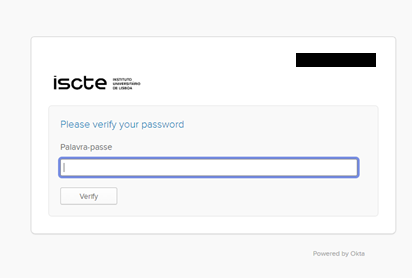
- Fill in your ISCTE password.
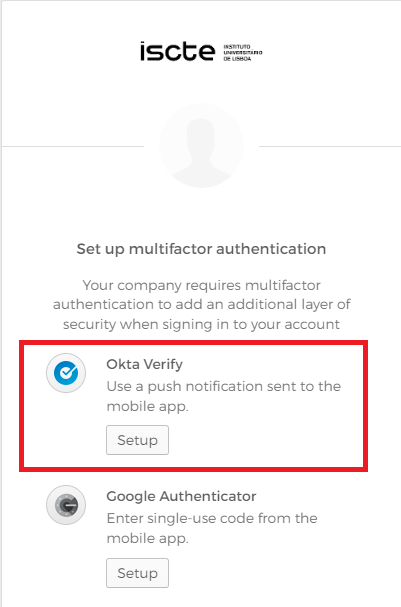
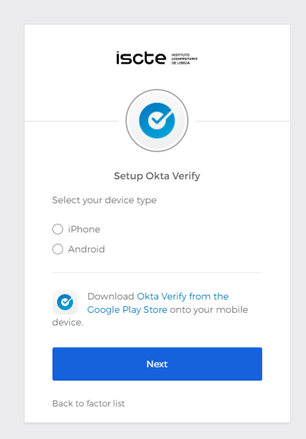
- After filling in your password, click on Set up as in the image below.
Then select the type of device you have as shown in the image on the right (select iPhone – first option – if your device is iPhone, or Android – second option – if your device is Android).
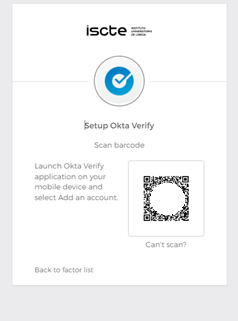
- When choosing the device type, a QR code will be displayed.
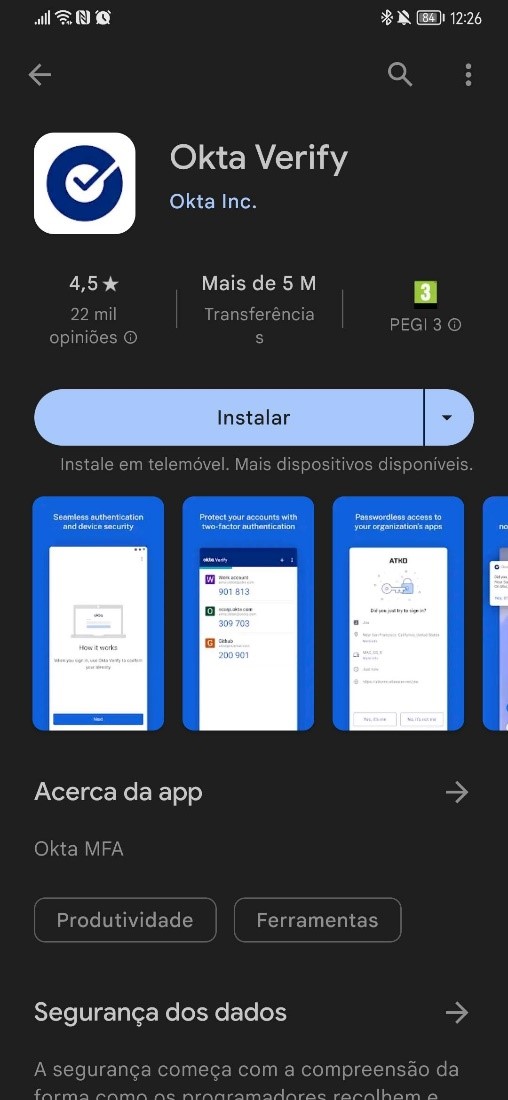
- Install in your smartphone the Okta Verify app from the Google Play store/App Store.
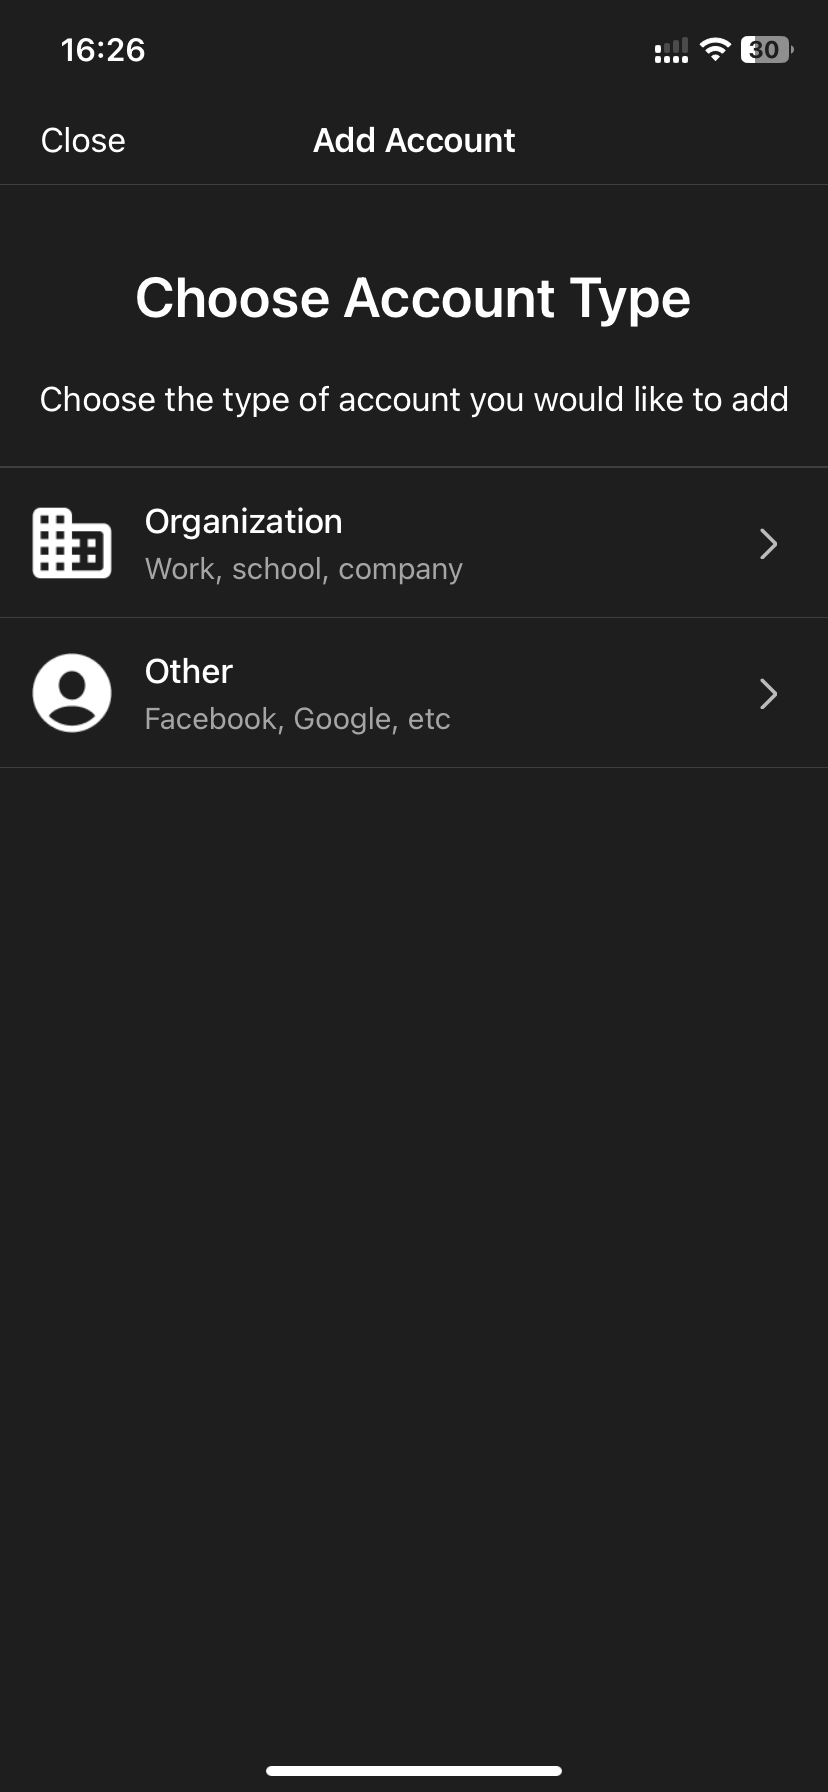
When you open the app, you will see the screen on the right. Click on “Add account”.

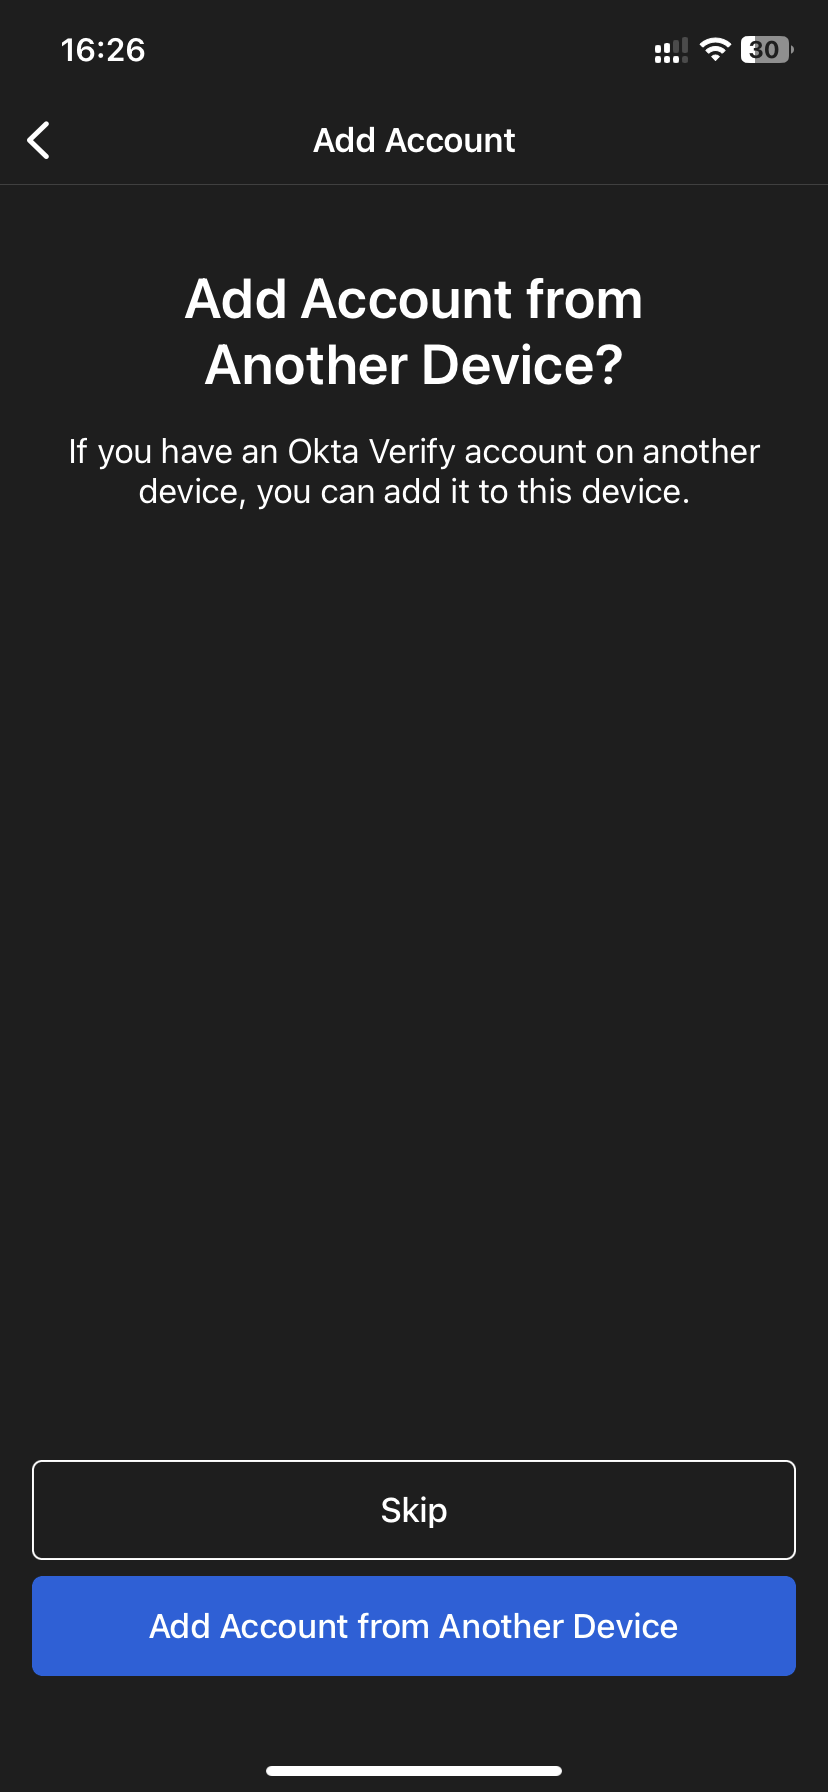
- Choose organization as the account type. When the app asks if you want to “Add Account from another device”, click “Skip”.
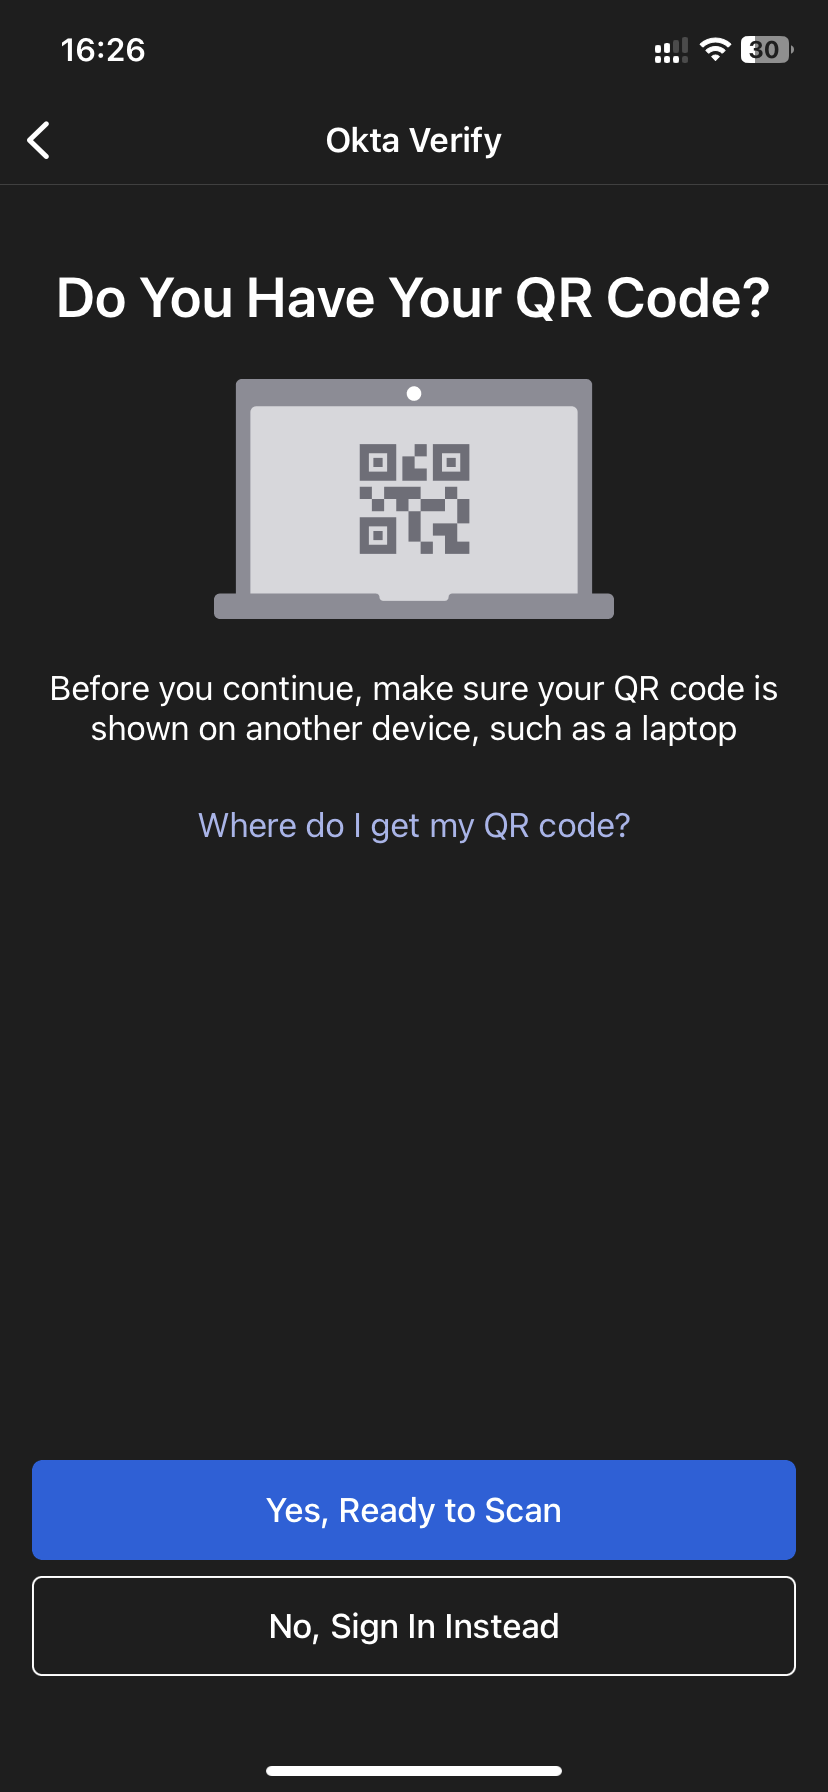
- Then click on “Yes, Ready to Scan” and scan the QR code shown to you on the OKTA website (see paragraph 4).
- If you prefer to use the OKTA Verify app, in the “Extra Verification” field, click on “Set up” placed in front of “Okta Verify”.
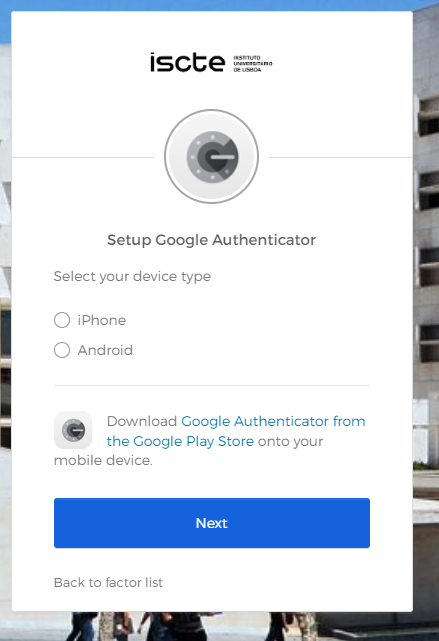
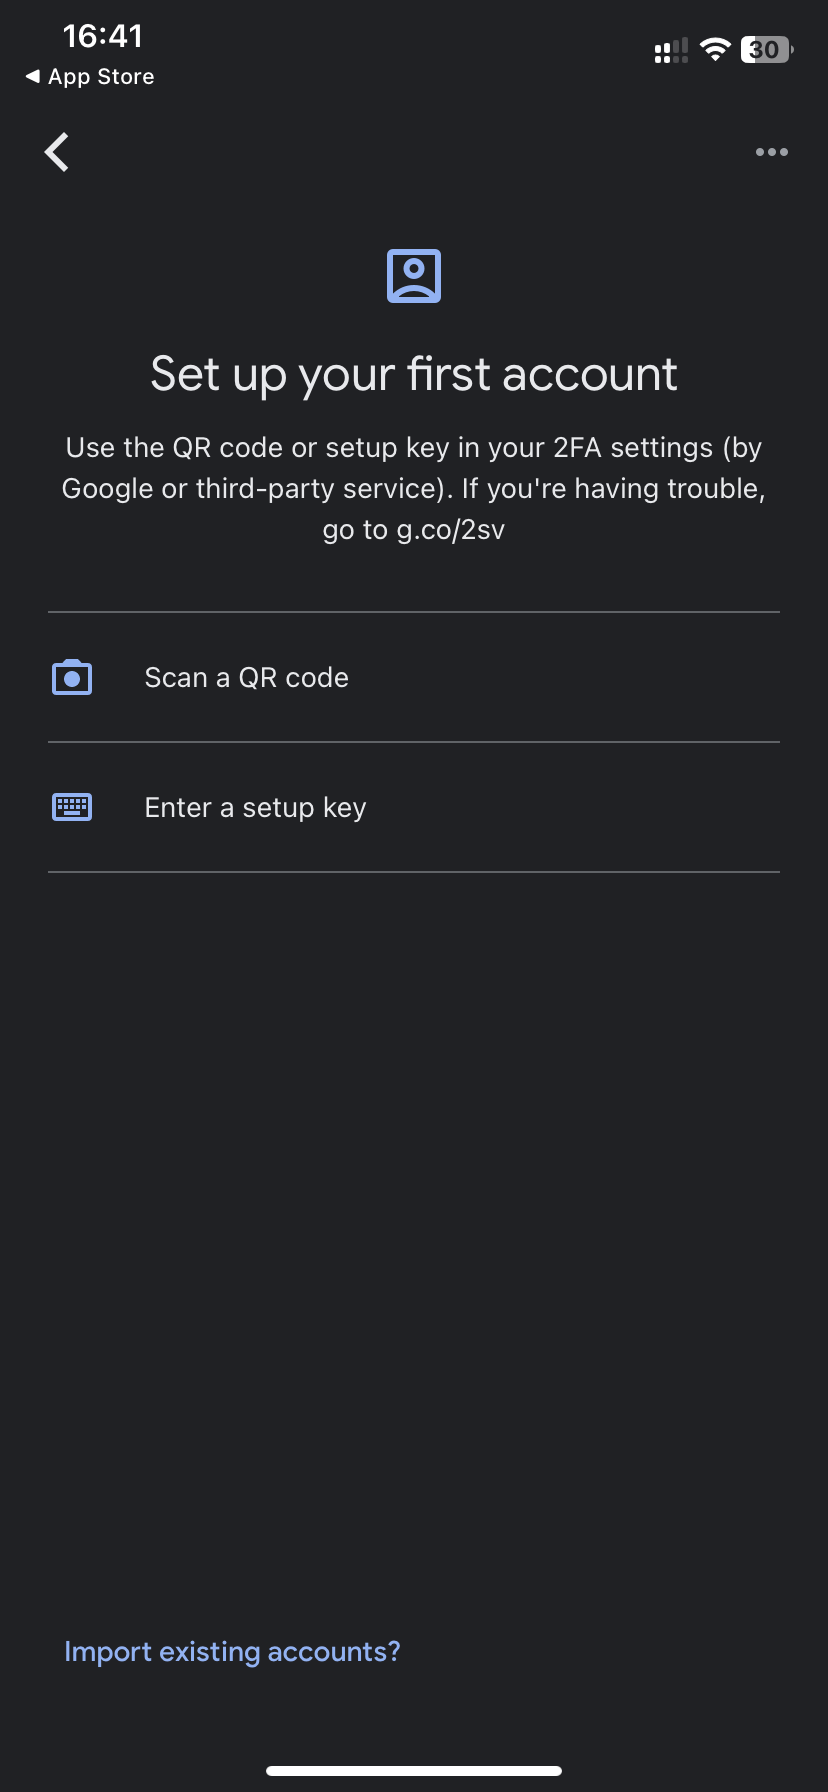
- If you prefer to use Google Authenticator app or other compatible app, in the “Extra Verification” field, click on “Set up” placed in front of Google Authenticator.
Click here to check the compatibility of the Android and iOS versions of the most used apps.
- Fill in your ISCTE password.
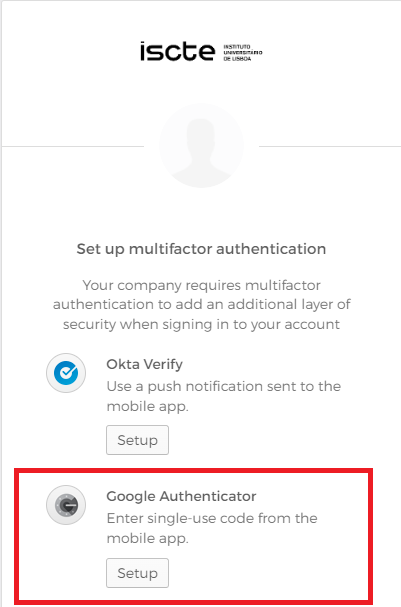
- After filling in your password, click on Set up as in the image below.
Then select the type of device you have as shown in the image on the right (select iPhone – first option – if your device is iPhone, or Android – second option – if your device is Android).
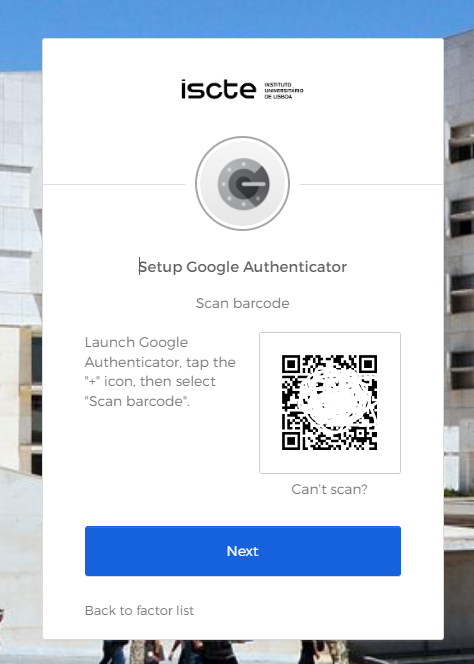
- When choosing the device type, a QR code will be displayed. If you cannot scan the QR code and use another TOTP application, click on “Can’t scan” (below the QR code) and see the code that appears on the next page.
- Install in your smartphone the Google Authenticator app or other compatible app from the Google Play store/App Store.
When you open the app, you will see the screen on the right and click on “Add a code”.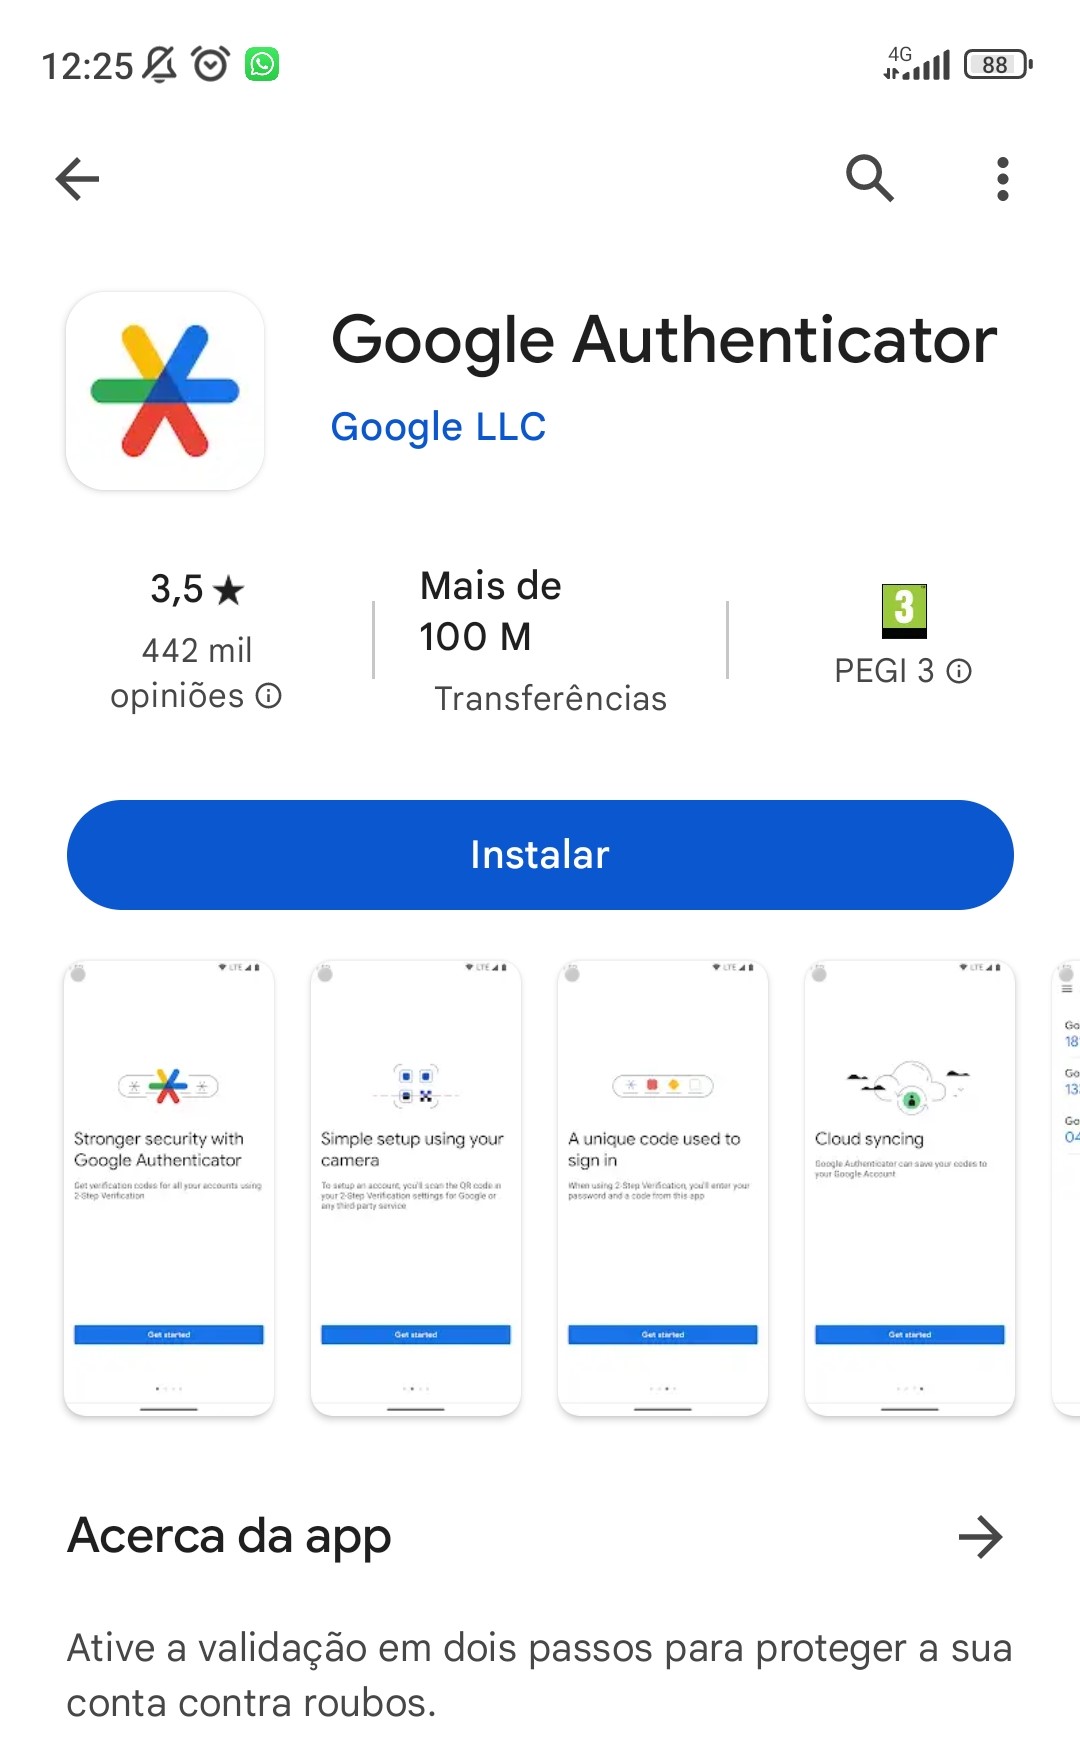

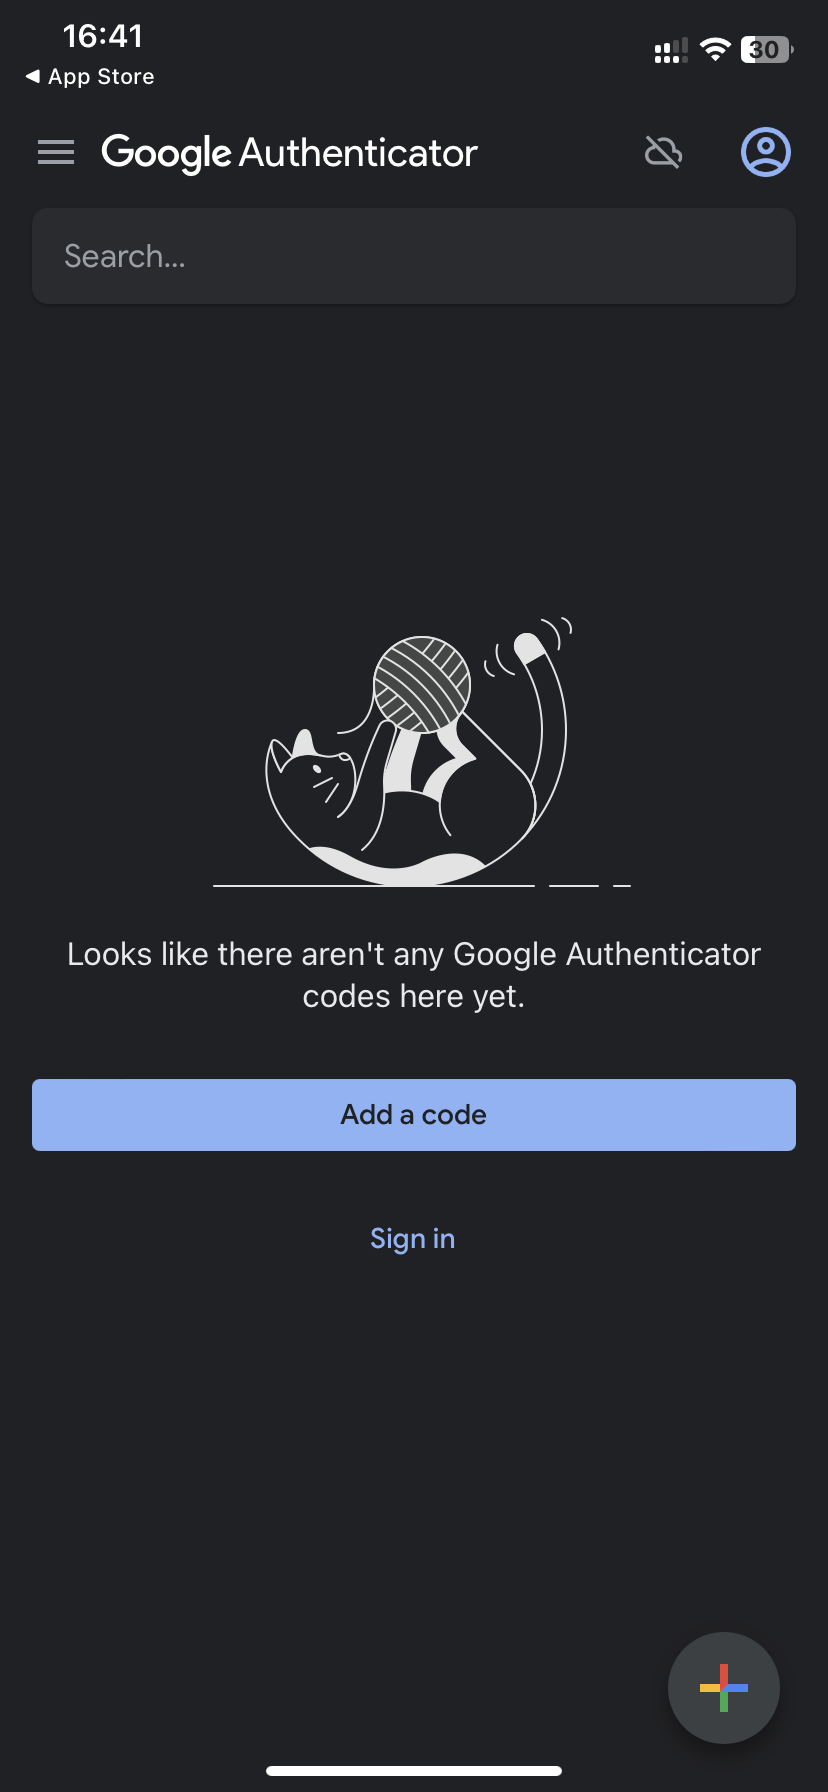
- Then click on “Scan a QR code” and scan the QR code shown to you on the OKTA website (see paragraph 4).
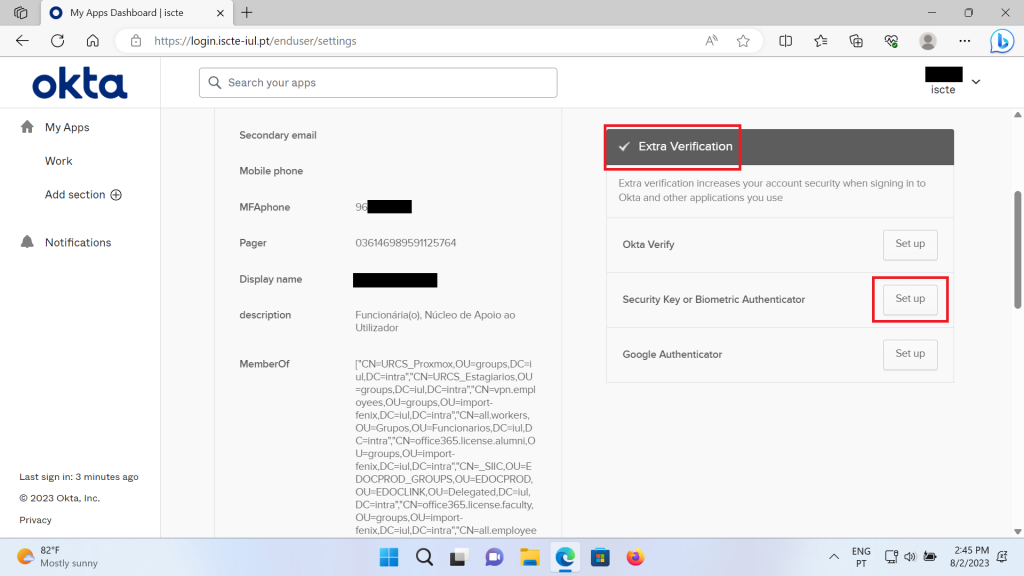
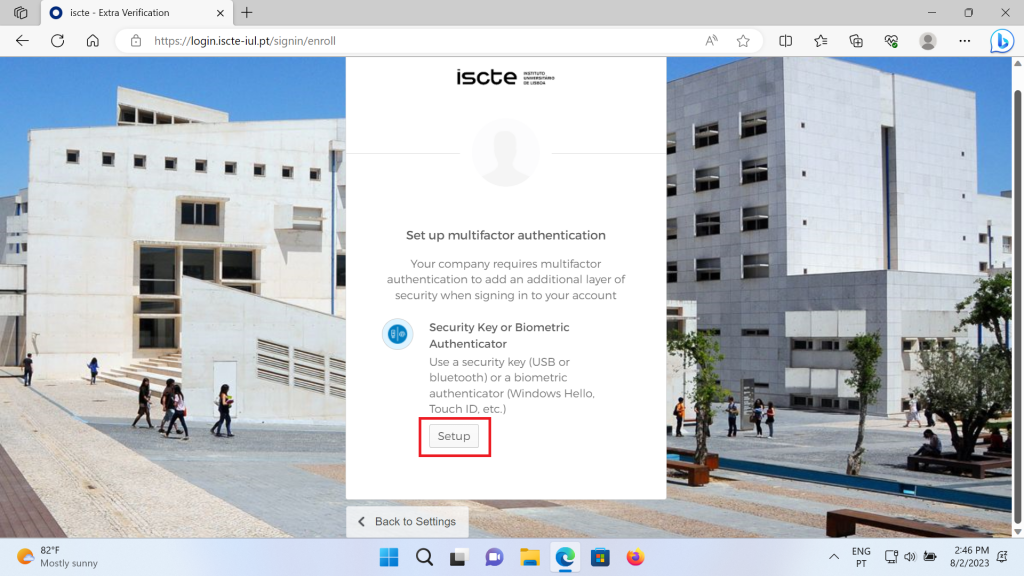
- If you prefer to use the Security Key FIDO/U2F or Biometric Authenticator (i.e. PIN authentication), in the “Extra Verification” field, click on “Set up” placed in front of “Security Key or Biometric Authenticator”.
- Fill in your ISCTE password.
- After filling in your password, click on “Set up” as in the image below.
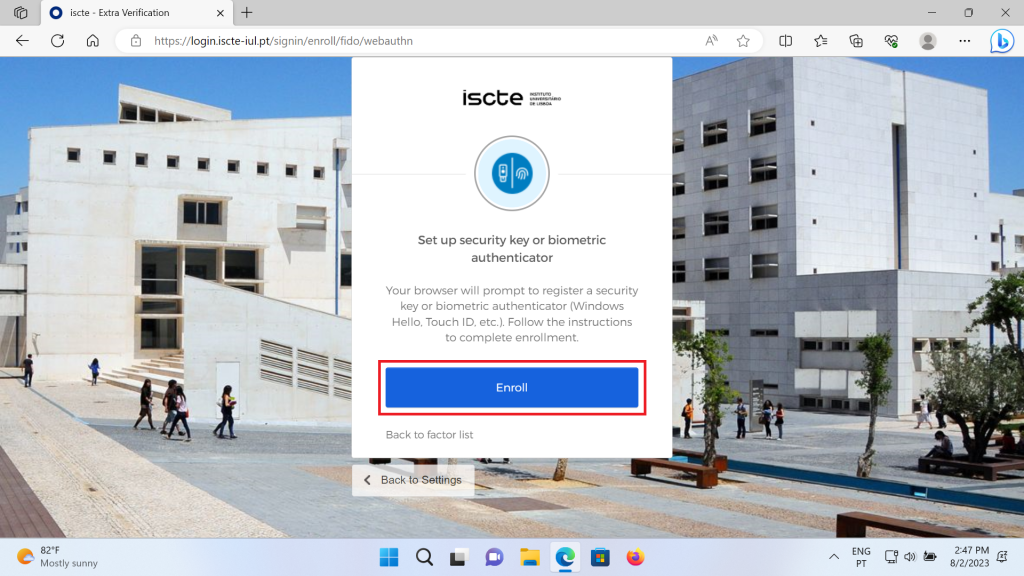
- When choosing the configuration type, click on “Enroll”.
- Click “OK” to configure the security key for authentication.
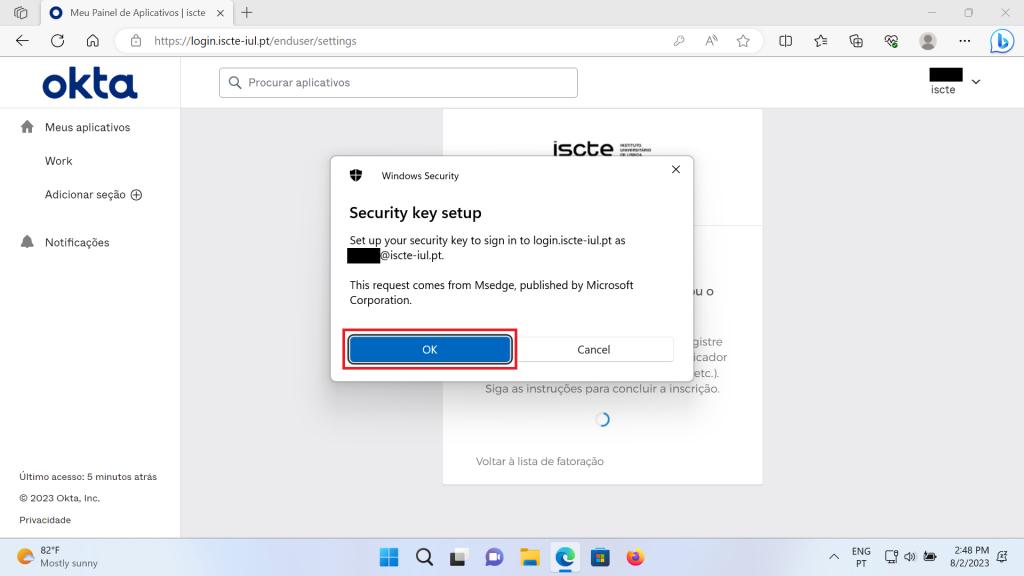
- Click “OK” again to allow the key to be identified.

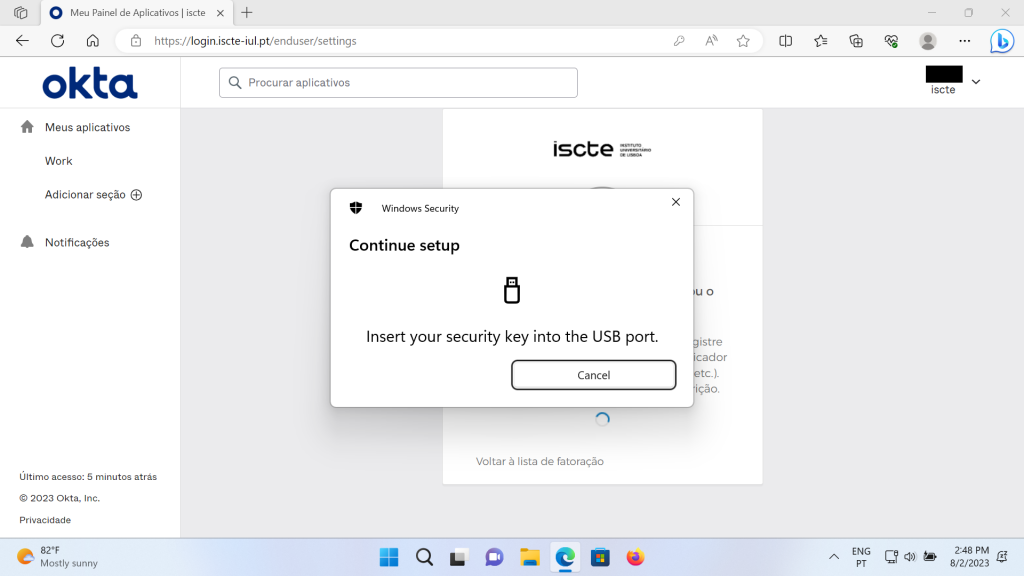
- Insert the security key into the USB port of your computer.
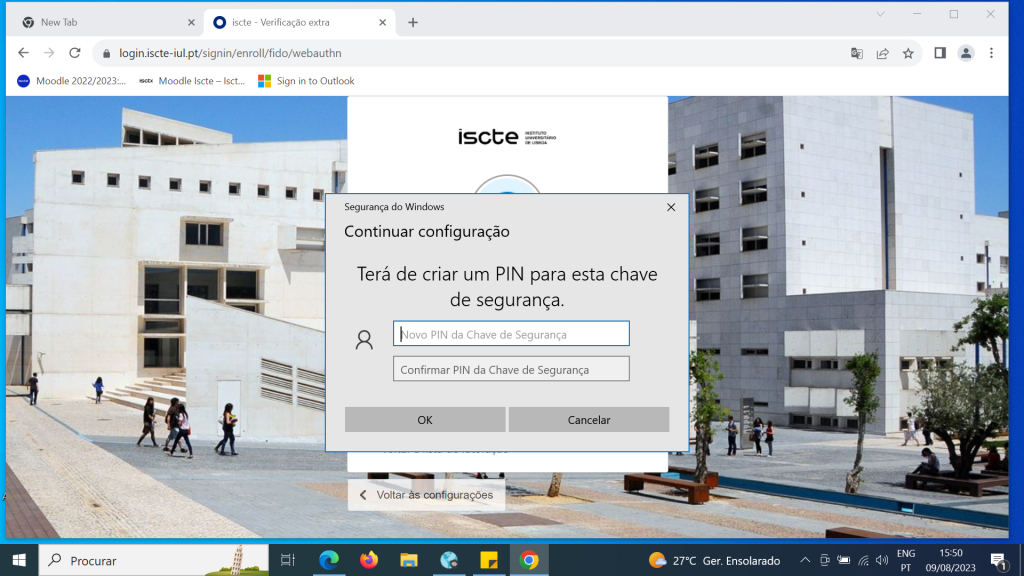
- When the key will be detected by the system, you will need to create a PIN to use with the security key.
- After that, you should place your finger on the security key’s button.
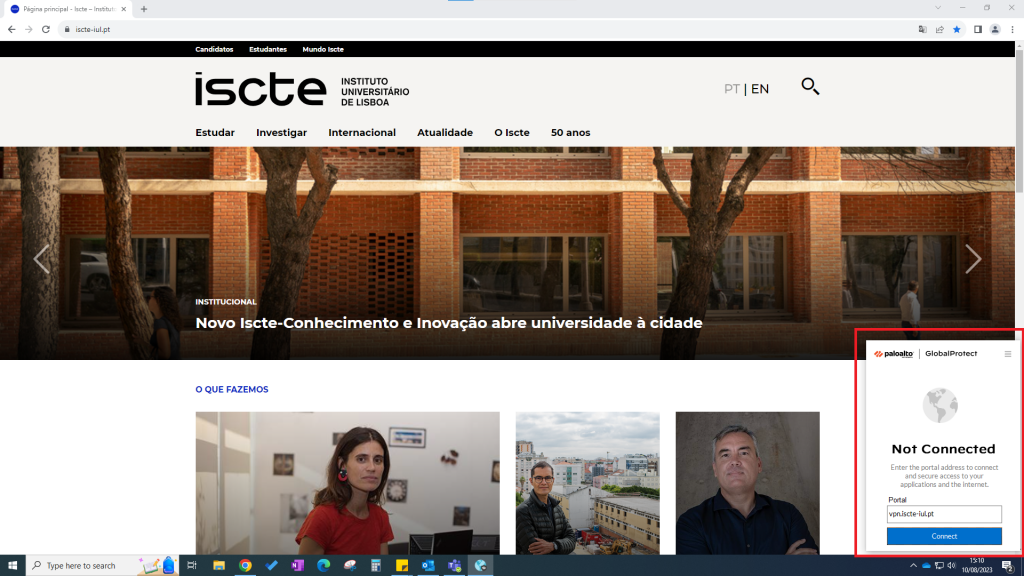
- Once the security key is configured, access GlobalProtect and in the “Welcome to Global Protect” window, in the “Please enter your portal address” field, write “vpn.iscte-iul.pt” and click on “Connect”, to establish the connection.
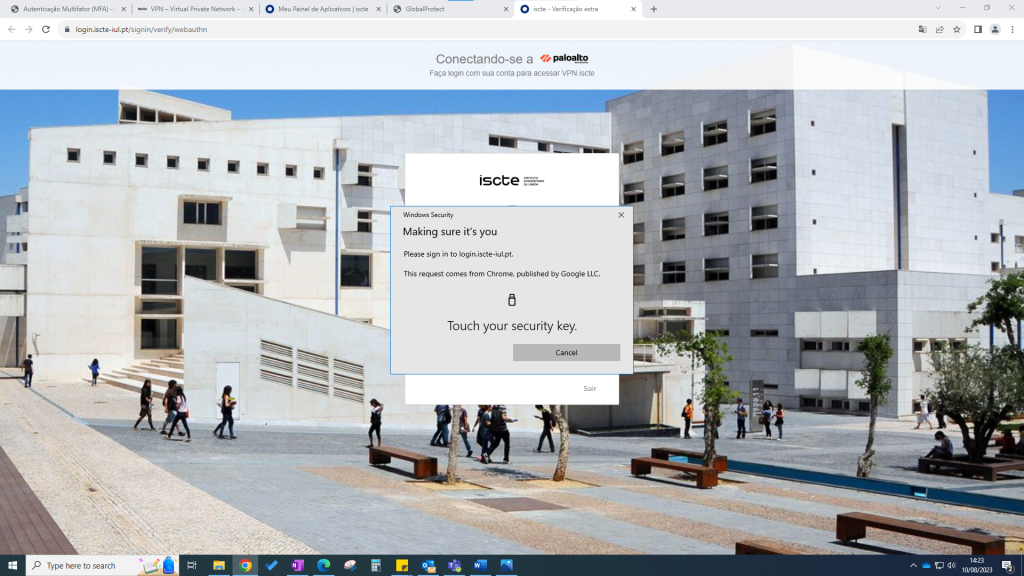
- A new window will open in the default browser where you will be asked to verify your Iscte account.
After that, you should authenticate with the security key, following the instructions to complete the authentication.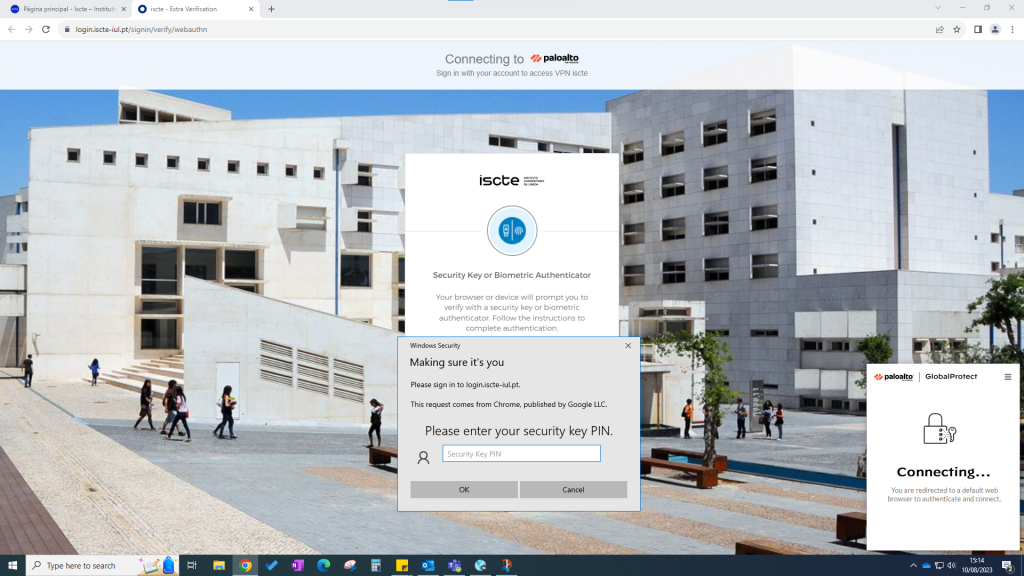

- Once authentication is complete, a new GlobalProtect tab will be displayed in the browser to establish the connection to the VPN (you can find more information on our “VPN – Virtual Private Network” webpage in the “How to install/setup VPN?” section).
| App | Android | iOS | |
|
|
Okta Verify |
9.0 or later |
15.0 or later |
|
|
Google Authenticator |
4.4 or later |
13.0 or later |
|
OTP Auth |
N/A |
12.0 or later |
|
|
LastPass Authenticator |
9.0 or later |
15.0 or later |
|
|
Twilio Authy |
5.0 or later |
13.0 or later |
|
|
Aegis |
5.0 or later |
N/A |
|
|
Microsoft Authenticator |
8.0 or later |
14.0 or later |