VPN – Virtual Private Network

- Please ensure that the Multifactor Authentication (MFA) has been enabled. If not, please follow the instructions on our webpage for setting up MFA: Multifactor Authentication (MFA).
- Access the https://vpn.iscte-iul.pt address through a browser (Chrome, Firefox, Edge).

- You will be redirected to the website: https://login.iscte-iul.pt. In the authentication window, enter the Iscte account credentials and follow the steps for the Multifactor authentication.
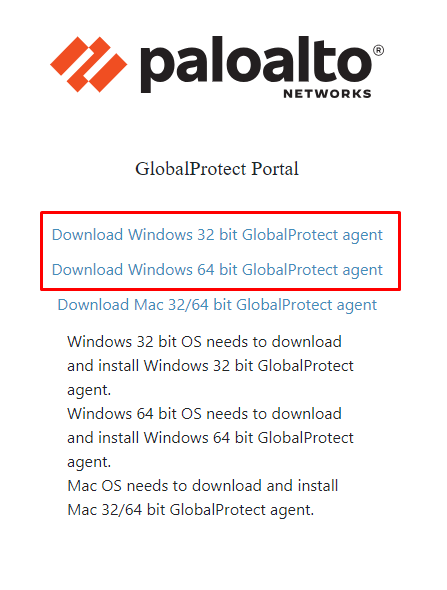
- Follow the connection for the version of Windows installed on your computer (32 or 64 bit): “Download Windows 32-bit Global Protect Agent” or “Download Windows 64-bit Global Protect Agent“.
- Go to the “Downloads” folder.

Method 1: Via browser option (Ctrl + J).
Method 2: Via Windows Explorer (Win + E). - Open the downloaded file above (“GlobalProtect.msi” or “GlobalProtect64.msi“).

Method 1: Double-click on the file name.
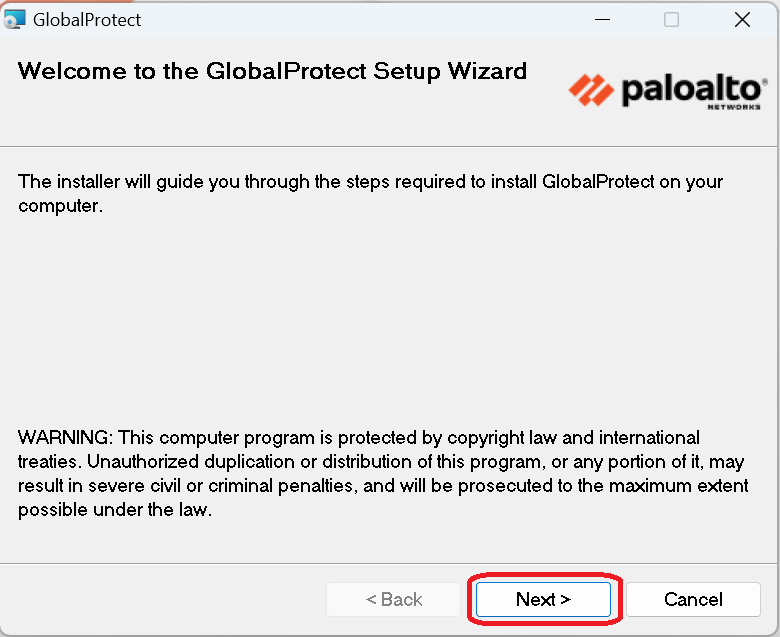
Method 2: Right click on the file name and choose the “Install” option. - In the “Welcome to the Global Protect Setup Wizard” window, click “Next“.
- In the “Select Installation Folder” window, click “Next“.

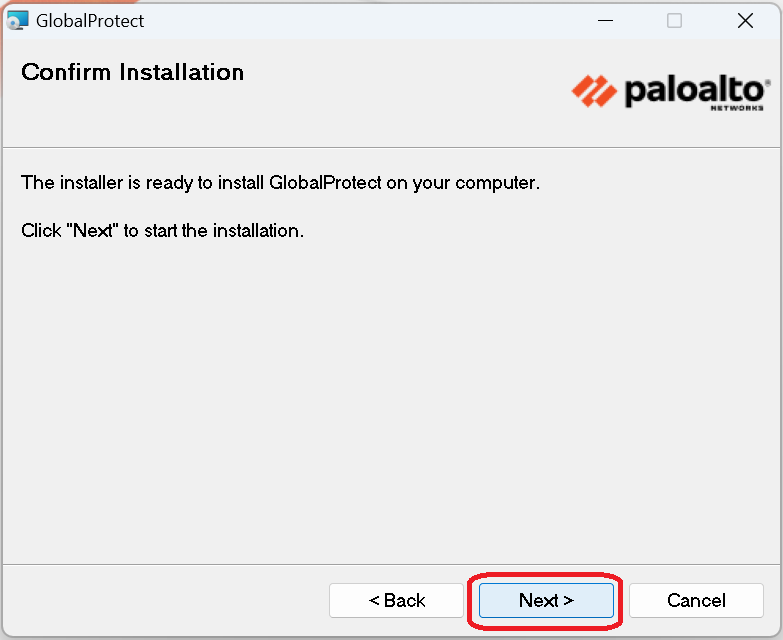
- In the “Confirm Installation” window, click “Next“.
- In the “Installation Complete” window, click “Close” to exit the installer.
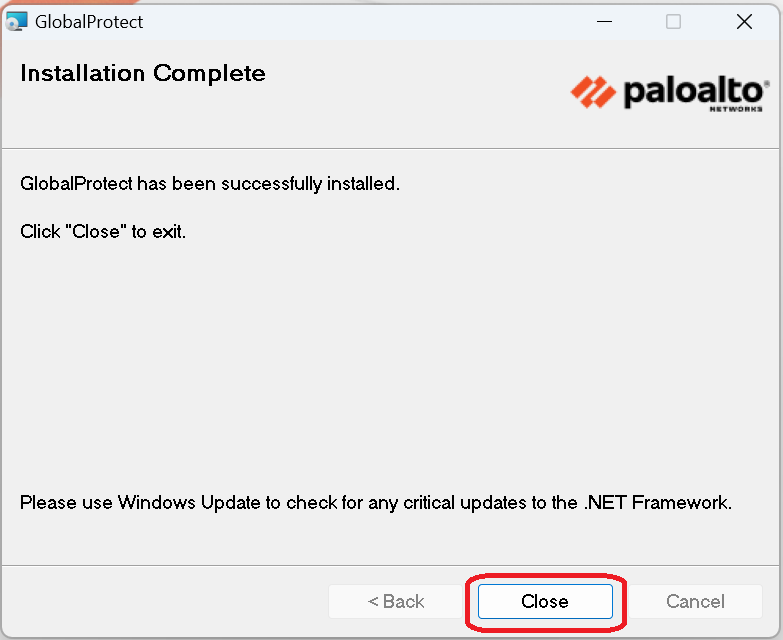
Note: The “GlobalProtect” client automatically starts after installation. - In the “Welcome!” window, click on “Get Started“.

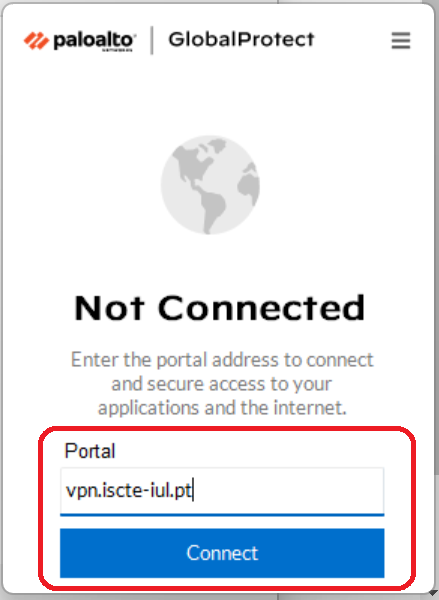
- In the “Portal” field, type “vpn.iscte-iul.pt” and click “Connect“, to establish the connection.
- A new window will open in your default browser, asking you to verify your Iscte account.
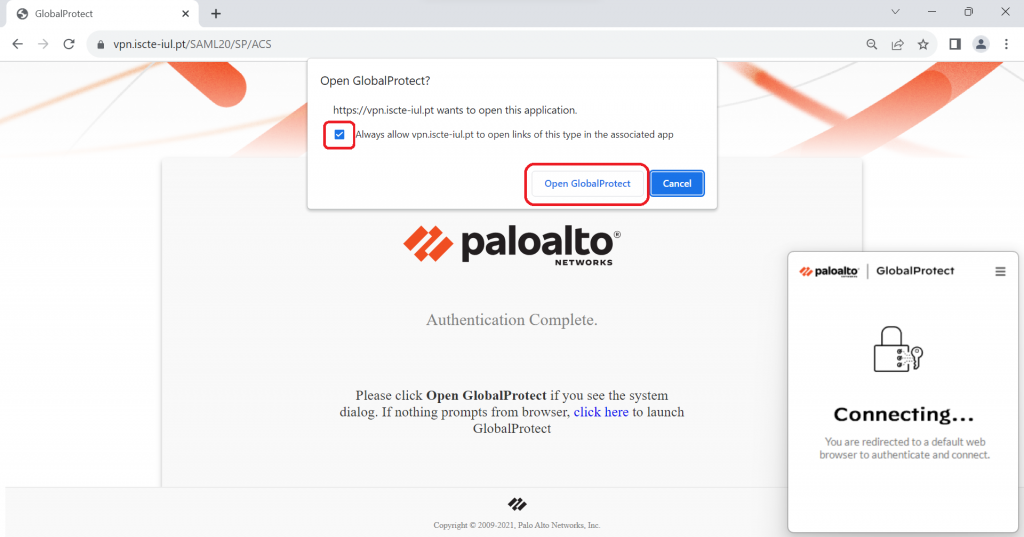
Notice: A pop-up window will appear, tick the box as in the image below and then click on “Open GlobalProtect”.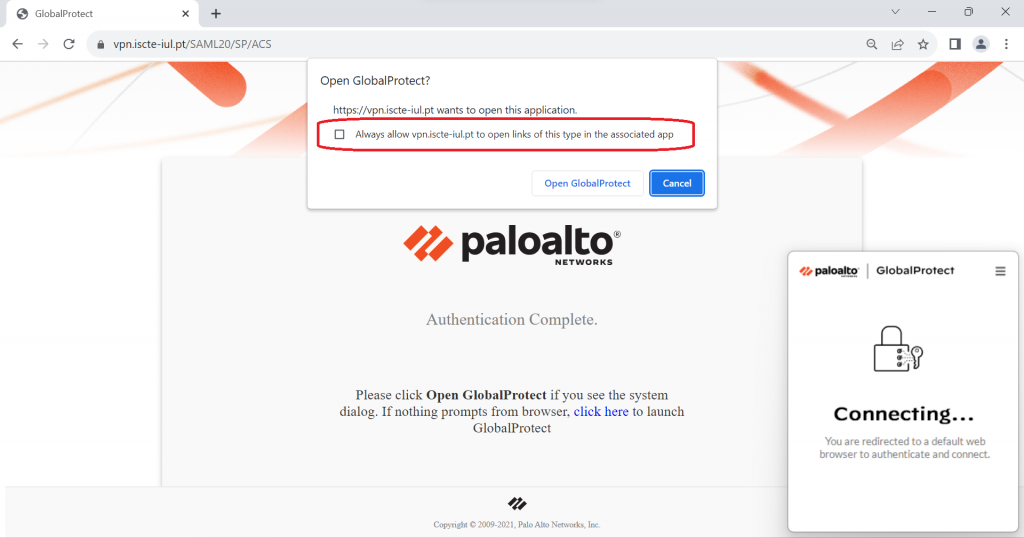
After that, you must authenticate using the configured Multifactor authentication, following the instructions to complete it.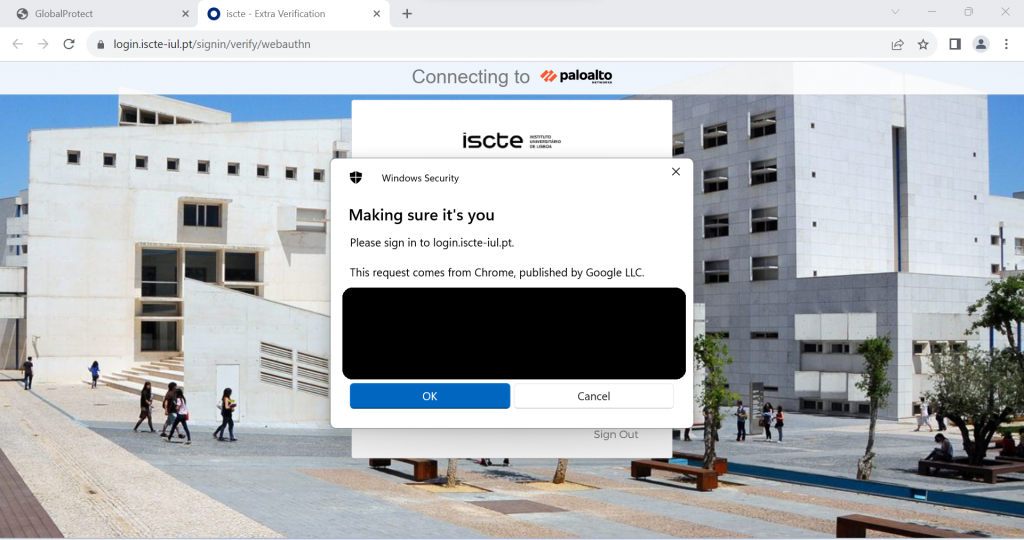
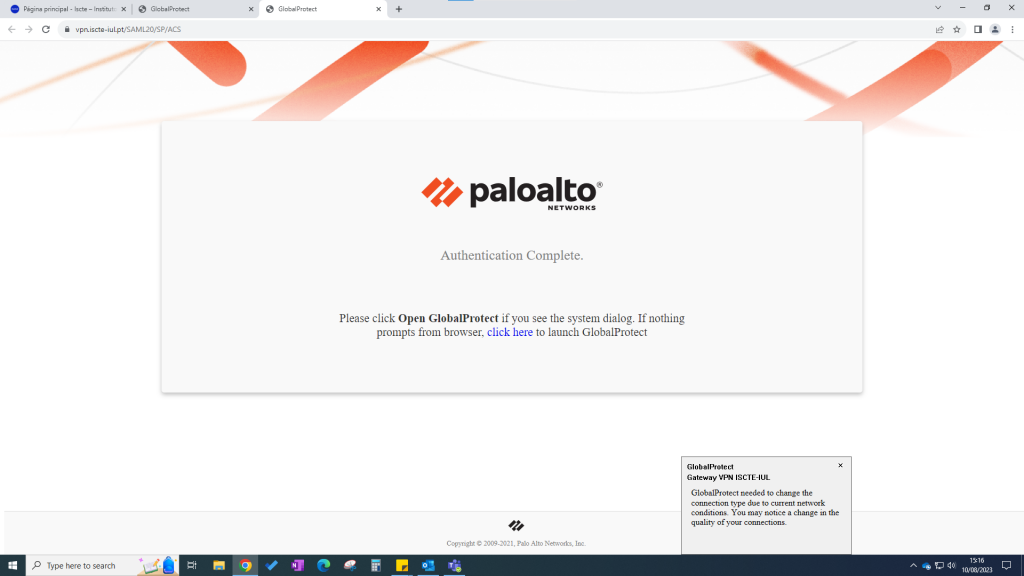
- Once authentication has been completed, a new GlobalProtect window will appear in the browser.
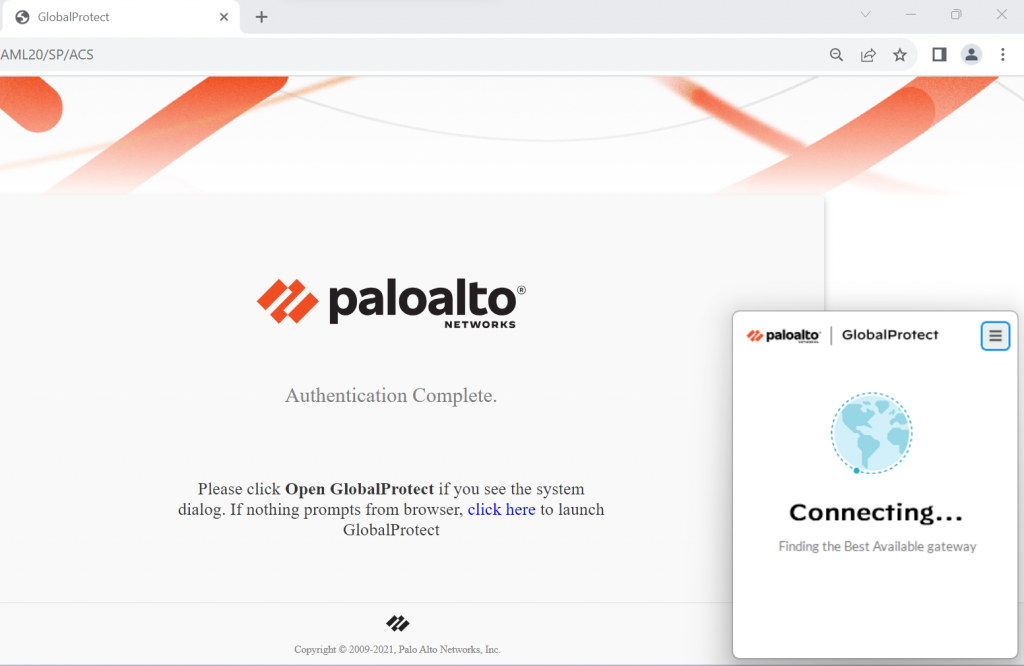
- If you don’t see the pop-up window in the browser tab, we recommend pressing “Click here” to connect the VPN.
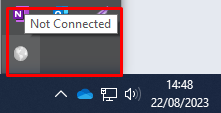
- To confirm that the VPN connection has been established, click on the “GlobalProtect” icon on the taskbar, whose status should indicate “Connected“.
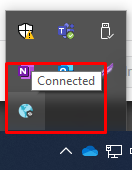
Note: If the “GlobalProtect” icon is not visible, look under “hidden icons” (^).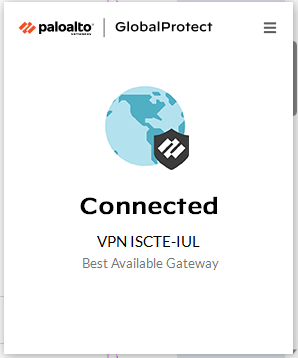
- Please ensure that the Multifactor Authentication (MFA) has been enabled. If not, please follow the instructions on our webpage for setting up MFA: Multifactor Authentication (MFA).
- Choose a browser (Safari, Opera, Chrome, Firefox) and access the https://vpn.iscte-iul.pt.

Browser used in this example: Safari. - You will be redirected to the website: https://login.iscte-iul.pt. In the authentication window, enter the Iscte account credentials and follow the steps for the Multifactor authentication.
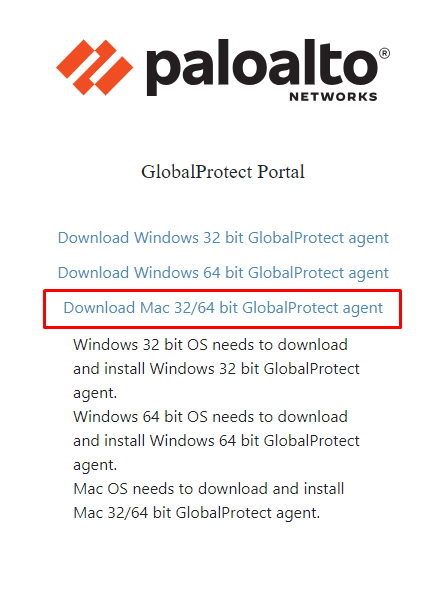
- Follow the link “Download MAC 32/64 bit Global Protect Agent“.
- Download the “GlobalProtect.pkg” file.
- Open the downloaded file above: “GlobalProtect.pkg“.

- If the message “System Extension Blocked” appears, click “Open Security Preferences“.

- In the “Security & Privacy” window, under “General“, click on “Allow” to unlock Palo Alto Networks. Then under “OK“.

- In the “Welcome to the GlobalProtect Installer” (Introduction) window, click “Continue“.

- In the “Select a Destination” (Destination Select) window, click “Continue“.

- In the “Custom Install on… ” (Installation Type), select the “GlobalProtect” package and click “Continue“.

- In the window “Standard Install on … “, (Installation Type), click “Install“.

- In the “Installer is trying to install new software” window, enter mac user credentials with administration privileges and click “Install Software“.

Note: The actual installation of the “GlobalProtect” client for MAC OSX begins. - In the “The installation was completed successfuly” (Summary) window, click “Close” to exit the installer.

Note: If after clicking “Install” (in step 11), the “Installer is trying to install new software” window did not appear, i.e. if you did not set the “GlobalProtect” client as a trusted program, you need to perform a few additional steps: - Access “System Preferences“, choose “Security & Privacy“.

- Select “General” and click on the “padlock” located in the lower left corner of the window.

- Enter mac user credentials with administration privileges.
- Clicking “Allow“, located next to the message “System software from developer “Palo Alto Networks” was blocked from loading. “

Note: The “GlobalProtect” client automatically starts after installation. - In the “Welcome to Global Protect” window, in the “Please enter your portal address” field, type “vpn.iscte-iul.pt” and click “Connect“, to establish the connection.

- A new window will open in your default browser, asking you to verify your Iscte account.
Notice: A pop-up window will appear, tick the box as in the image below and then click on “Open GlobalProtect”.
After that, you must authenticate using the configured Multifactor authentication, following the instructions to complete it. - Once authentication has been completed, a new GlobalProtect window will appear in the browser.
- If you don’t see the pop-up window in the browser tab, we recommend pressing “Click here” to connect the VPN (as shown in the image above).
- To confirm that the VPN connection has been established, click on the “GlobalProtect” icon in the upper-right corner of the screen, whose status should indicate “Connected“.

On console/terminal
- Access the console or terminal command line and run the commands:
sudo apt-get install vpnc-scripts network-manager-vpnc-gnome network-manager-vpnc
vpncsudo vpnc-connectNote
: The remaining data will be requested interactively. See immediately below how to automate the process of connecting vpnc via console. - Access the console command line and create a file with iscte connection data, running:
sudo cat > /etc/vpnc/username-of-the-account-iscte.conf << EOFIPSec
gateway vpn.iscte-iul.pt
IPSec ID
mobileIPSec secret PreSharedKeydoIPSECIKE
Authmode
pskXauth username username-of-the-account-of-iscteXauth
password-password-do-account-iscteEOF - Run the command to connect the vpnc:
sudo vpnc-name-of-user-of-the-account-iscteousudo
vpnc-connect /etc/vpnc/username-user-of-the-iscte-account.conf
In the GUI environment
- Right-click on the network-manager icon and choose the “Edit Connections” option.

- Click the “+” button located in the lower left corner of the window.

- In the “VPN’s” window, choose “Cisco VPN (vpnc)“.

- In the “Select a link type” window and click “Create… “.

- Fill in the data regarding the VPN connection to Iscte and click “Save“.

Gateway: vpn.iscte iul.pt
User: iscte username (e.g. xxnes)
User password: iscte account passwordGroup
name: mobileGroup
password: ****** - Close the “Network Connections” window using the cross (x) in the upper right corner.

- Click on the “Network-Manager” icon and mark the checkbox for “ISCTE VPN“.

Not available.
- To connect the VPN, access the “GlobalProtect” client and click “Connect” to establish the connection.
The icon is located on the taskbar. If not visible, look under “hidden icons” (^).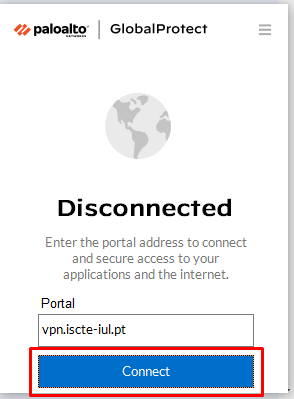
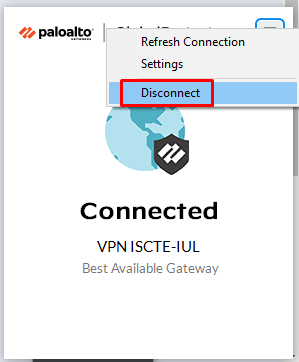
- To disconnect the VPN, access the “GlobalProtect” client.

The icon is located on the taskbar. If not visible, look under “hidden icons” (^). Then click on the upper-right corner of the window to access the “Menu” of the “GlobalProtect” client and choose the “Disconnect” option.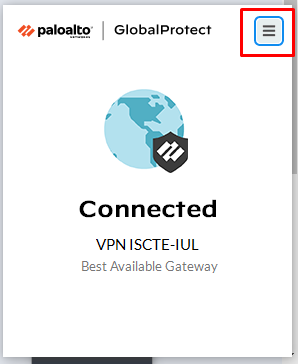
- To connect the VPN, access the “GlobalProtect” client and click “Enable” to establish the connection.

The icon is located at the top edge of the screen.
- To disconnect the VPN, access the “GlobalProtect” client and click “Disconnect” to end the connection.

If this button is not available, click the “Gear” symbol located in the top corner of the “GlobalProtect” window and choose the “Disable” option.
- To connect the VPN, on the console command line, run the
command:sudo vpnc-connectNote
Note: The remaining data will be requested interactively. See immediately below how to automate the process of connecting vpnc via console. - To connect the VPN, on the console command line, using a configuration file, run one of the commands:
sudo vpnc-name-of-the-account-of-iscteousudo
vpnc-connect /etc/vpnc/user-name-of-the-iscte-account.conf - To connect the VPN, in gui environment, click on the “Network-Manager” icon and mark the checkbox for “ISCTE VPN“.
- To disconnect the VPN, on the console command line, run the command:
sudo vpnc-disconnect - To disconnect the VPN, in gui environment, click the “Network-Manager” icon and uncheck the checkbox for “ISCTE VPN“.

Not available.
Before leaving Iscte
-
- Write down the name (hostname) and IP of the Iscte computer.
- Do not turn off Iscte’s computer.
At Home
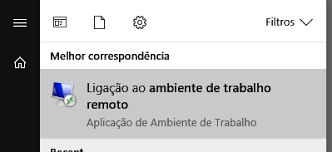
Utilizar a aplicação “Ligação ao ambiente de trabalho remoto” (“Remote desktop connection”), da Microsoft, para estabelecer a ligação com o computador do Iscte.
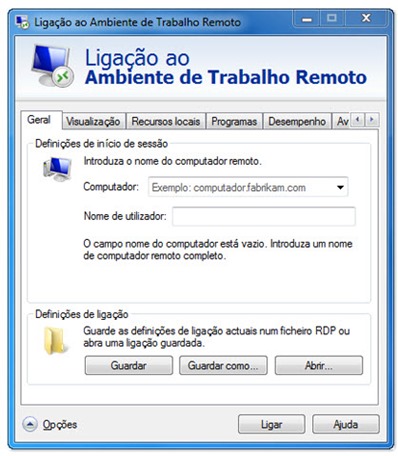
- Abrir a aplicação “Ligação ao ambiente de trabalho remoto“.
- Colocar o IP da máquina do Iscte no campo “Computador” e autenticar usando as credenciais do Iscte, no formato: IUL\xxnes (a exemplo do utilizador Xisto Ximenes, cujo nome de utilizador é xxnes@iscte-iul.pt).
Em computadores com a instalações mais antigas, caso falhe a autenticação acima, usar as credenciais do Iscte, no formato: ISCTE\xxnes (a exemplo do utilizador Xisto Ximenes, cujo nome de utilizador é xxnes@iscte-iul.pt). - Clicar em “Ligar“.
- Clicar em “Sim“.
- Na barra de tarefas, selecionar o ícone de Rede Ethernet > a ligação de rede Ethernet (neste exemplo, contoso.com).
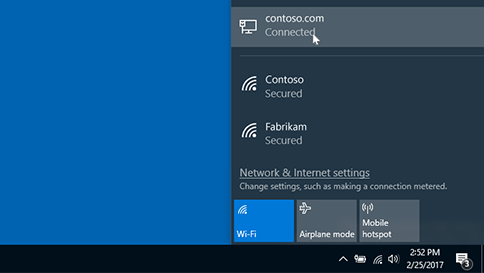
- Em “Ethernet“, selecionar a ligação de rede Ethernet.
- Em “Propriedades“, procurar o endereço IP listado junto a endereço IPv4.