IT Lab with Monitor with Webcam
Atualizado/Updated: 2024-09-06
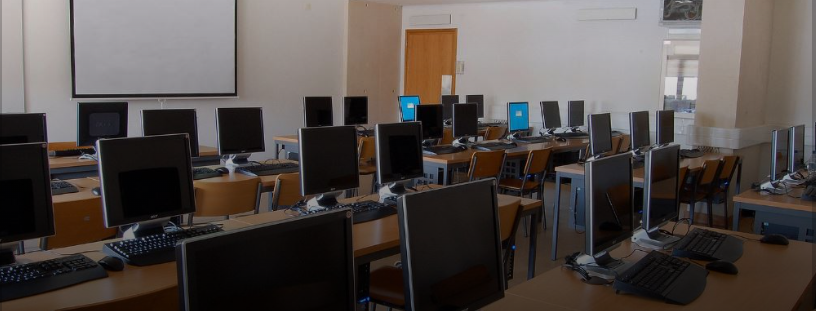
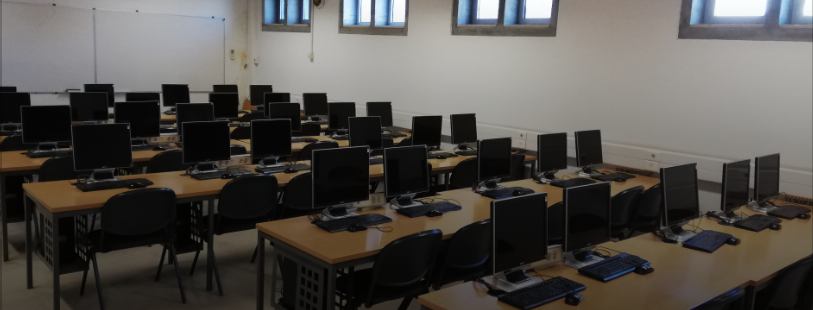
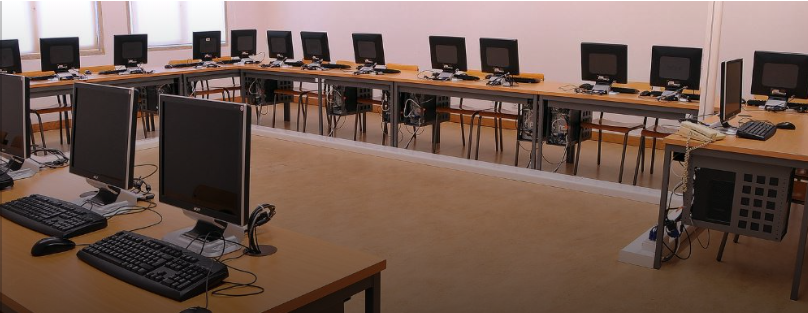
This IT labs are prepared for face-to-face classes. However, as the teacher’s workstation is equipped with a monitor with webcam, it is possible to hold classes or meetings online. If you need to use the lab whiteboard, in hybrid classes/meetings, see here how to request a webcam.
The control system allows you to turn ON | OFF the videoprojector.
Lens
-
-
- Field of View: 75° for 1920 x 1080
- Focus mode: Fixed
- Focus area: 28 cm – 2.47 m
- Focus distance (normal mode): 50 cm
-
Unidirectional Digital Microphone
Speakers
-
-
- Frequency response: 200Hz – 20KHz
- Power: 2 x 5 W
-
The VGA switcher allows you to switch the projection source between the auditorium desktop and a laptop.
-
-
- Input A – Connected to the auditorium computer (audio and video)
- Input B – To connect a second computer/laptop (audio and video)
- Output (I/O) – Connected to the video projector (audio and video)
-
To project the contents of the laptop, do the following:
-
- Connect the VGA cable labeled “Connect laptop” to the laptop.
- Press the B input button.
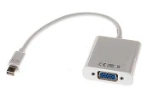

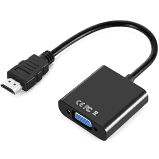
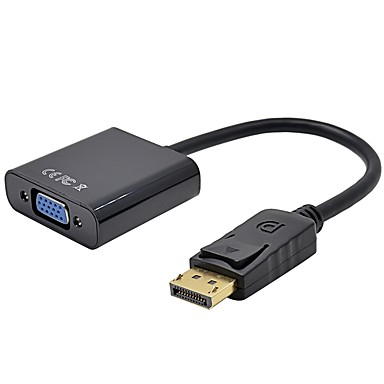
Tip: Devices without analog output require adapters for VGA.
-
- 7-Zip
- Adobe Acrobat Reader DC
- Adobe Flash Player 32 NPAPI
- Adobe Flash Player 32 PPAPI
- ArcGIS
- ARCHICAD 22
- Arduino
- ATLAS.ti
- Audacity
- AutoCAD 2020
- AutoCAD MEP 2020
- Autodesk Cloud Models for Revit 2020
- Autodesk Material Library
- Autodesk Navisworks Manage
- Autodesk ReCap 6.0
- Autodesk Revit 2020
- CodeMeter Runtime Kit v6.60a
- Dynamo Core
- E-Prime 3.0
- EViews 11
- FARO LS
- Google Chrome
- GPL Ghostscript 9.27
- GRAPHISOFT BIMx Desktop Viewer 2018
- GSview 5.0
- IBM SPSS Amos
- IBM SPSS Statistics
- Java 8 Update
- JetBrains PyCharm Edu 2019.1.1
- MATLAB 9.6
- Mendeley Desktop
- MeshLab_64b 2016
- Microsoft Office Professional Plus 2019 – en-us
- Microsoft Office Professional Plus 2019 – en-us.proof
- Microsoft Office Professional Plus 2019 – pt-pt.proof
- Mozilla Firefox
- NetBeans IDE 8.2
- Notepad++
- Oracle VM VirtualBox
- ProjectLibre
- Python 3.7.3
- QGIS 3.4.10
- R for Windows 3.6.0
- Rhino 6
- Rstudio
- SIMUL8
- Stata 16
- SWI-Prolog 8.0.3
- Unity 2018.2.0f2
- VLC media player
- VMware Player
- Vmware
- Vulkan Run Time Libraries
- XAMPP
-
- If necessary, turn on the classroom desktop.
- If you use a laptop, take care of the connection to the VGA switch.
- Open the support materials (audio, video, presentations).
- If necessary, turn on the video projector using the “ON” button on the control system.
- If necessary, open the Zoom client or access the platform via https://videoconf-colibri.zoom.us/ by performing federated authentication (SSO) with the Credentials of the Iscte account (e.g., xxnes and their password).
- Check microphone: “Echo Cancelling Speakerphone (P2418HZm)”.
- Check speaker: Echo Cancelling Speakerphone (P2418HZm).
- Check the camcorder: DELL Monitor RGB Webcam (Dell P2418HZm).
- If so, start a previously scheduled class and the link of which was sent to the students.
- At the end of the lesson or meeting, end the zoom session, terminate all applications (e.g., powerpoint) or open sessions on platforms (e.g., mail, onedrive, phoenix, e-learning).
- Turn off the video projector using the control box button.
